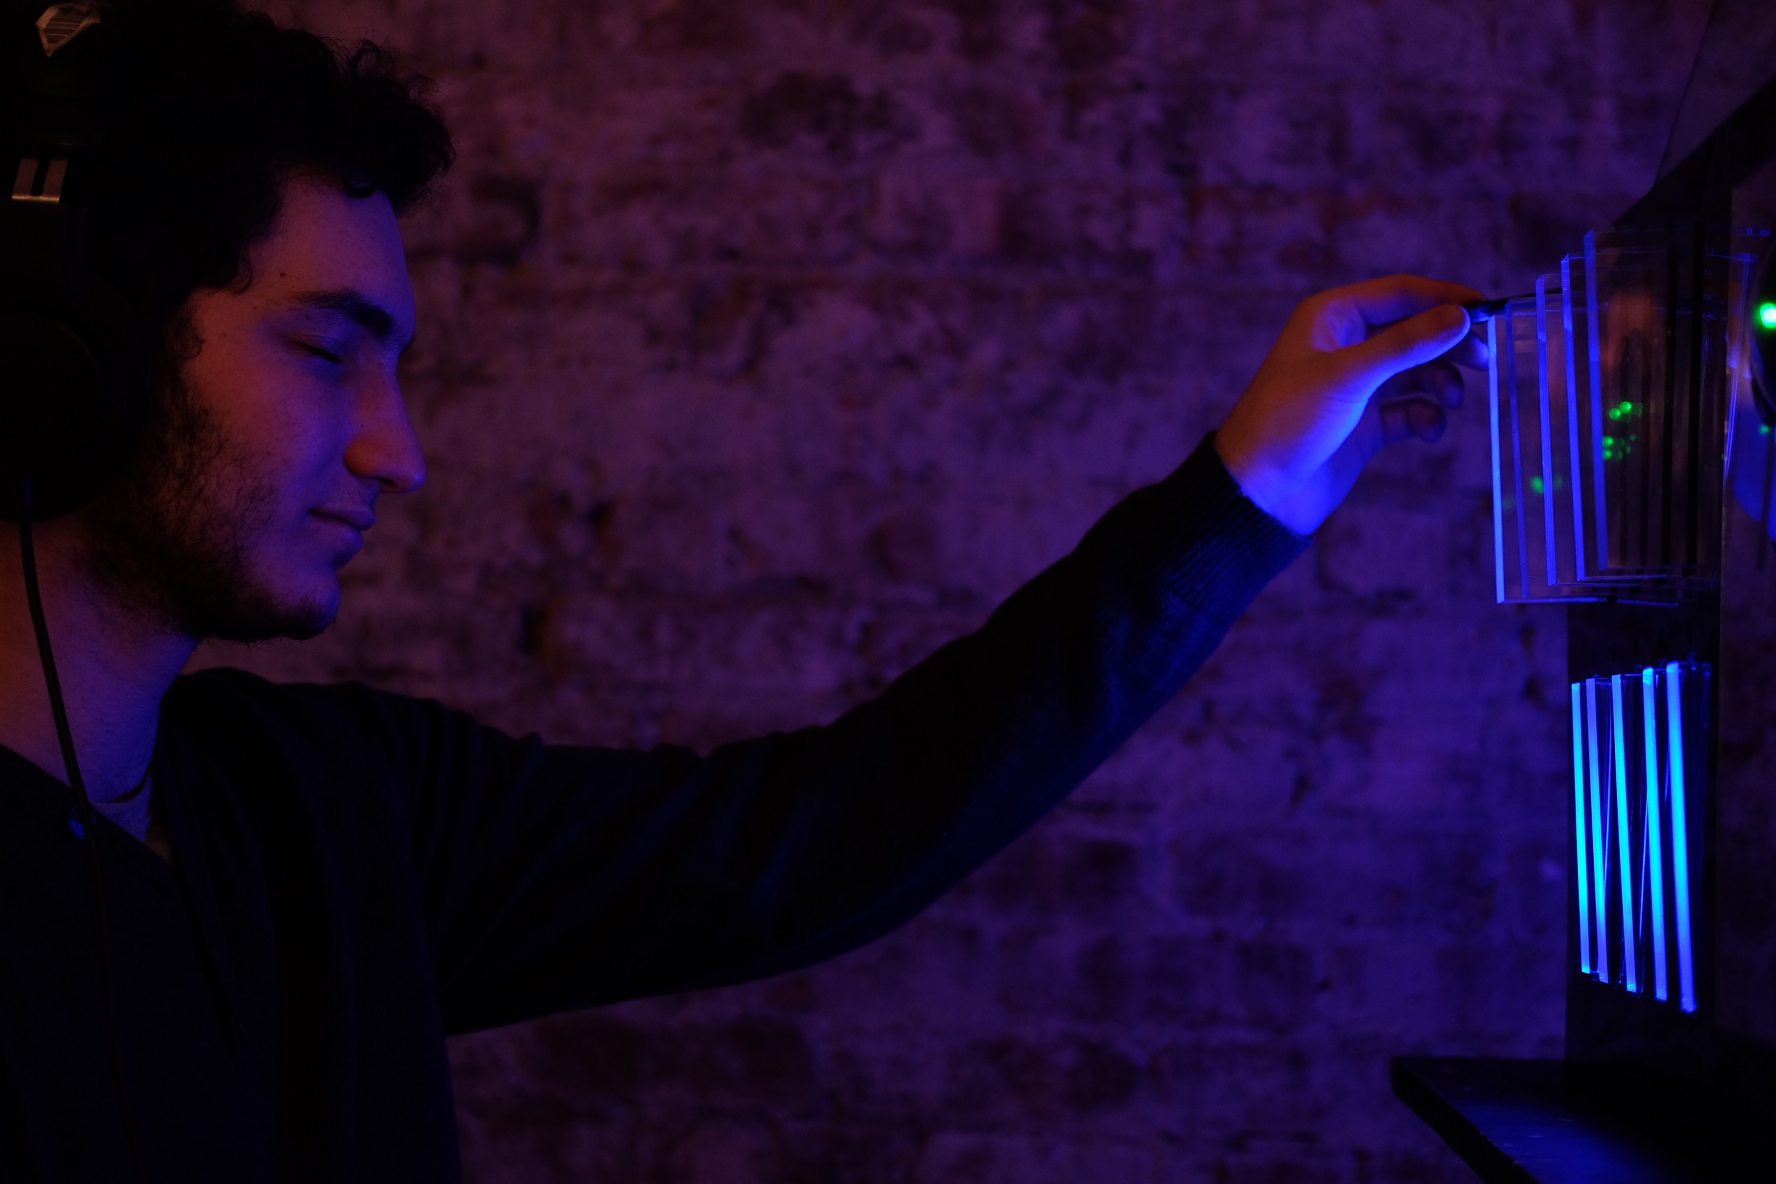
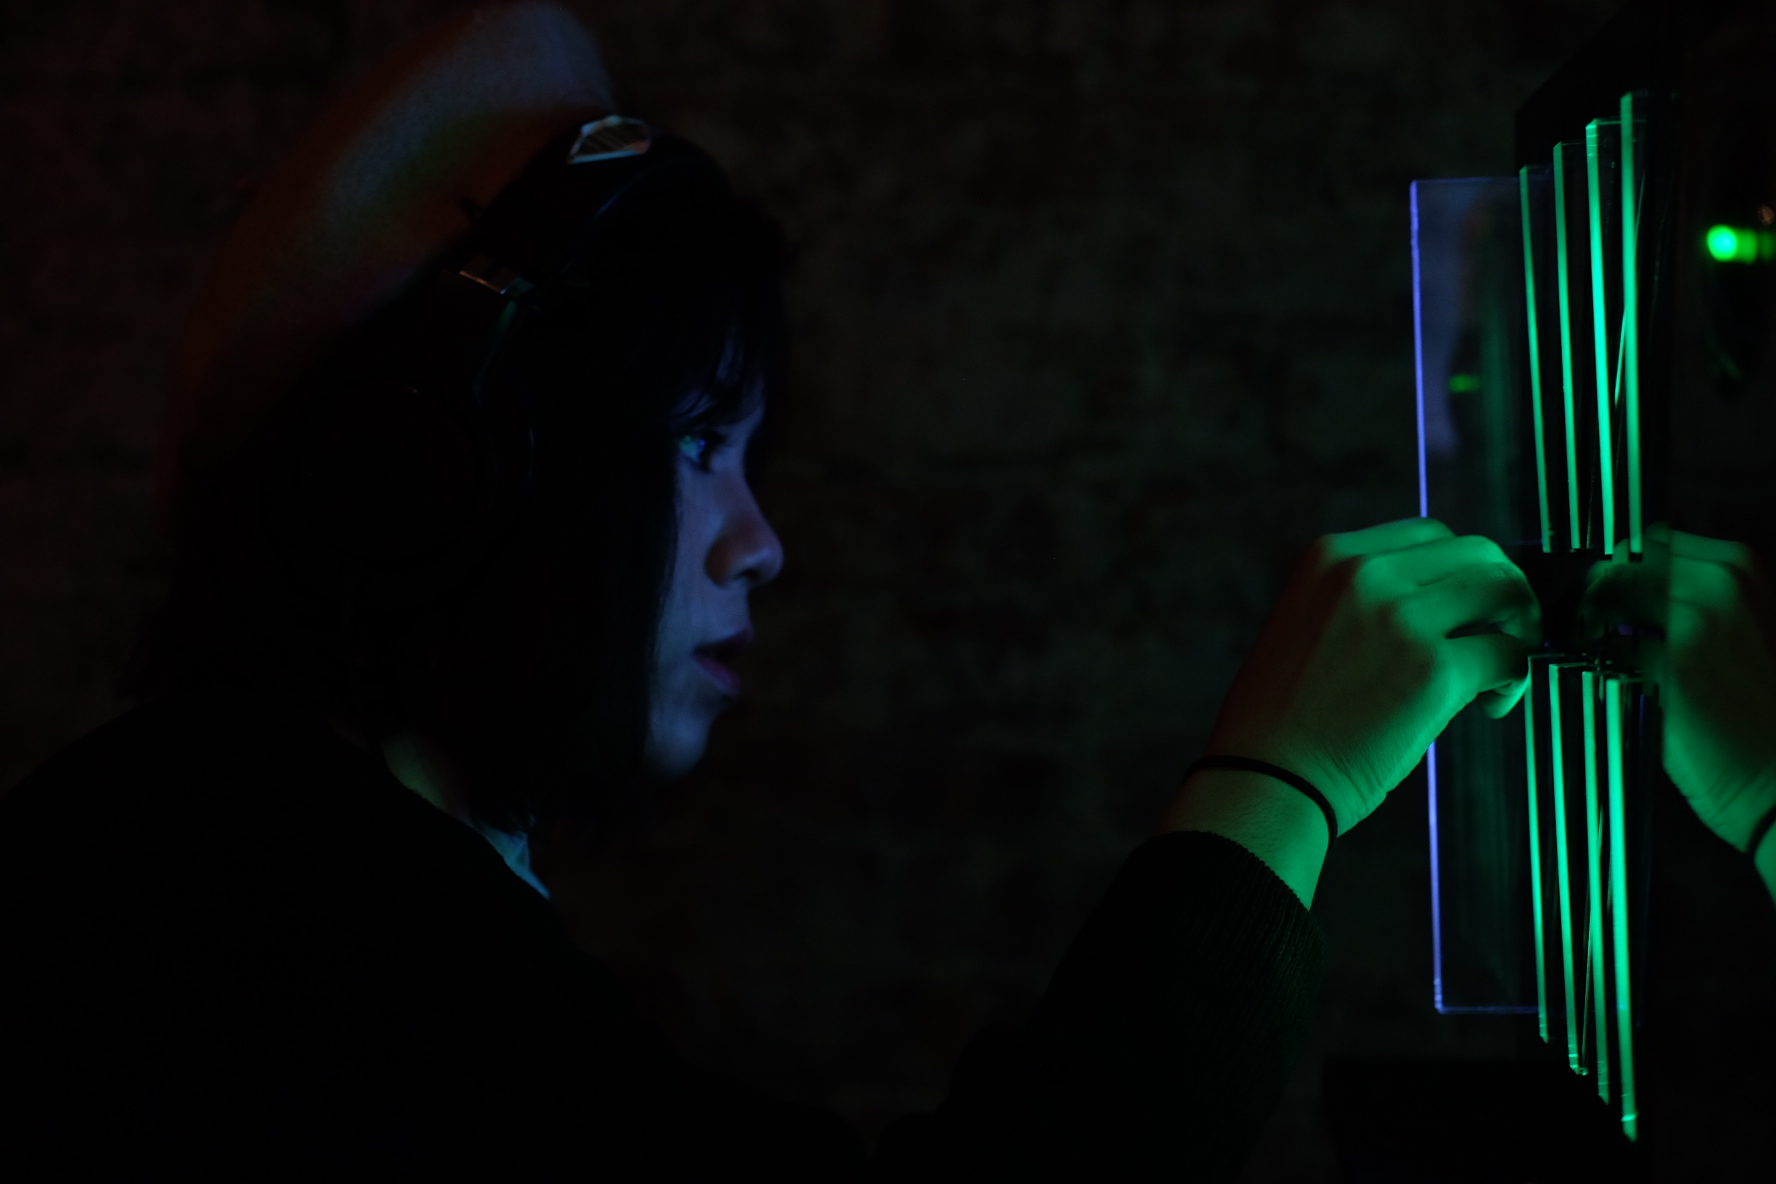
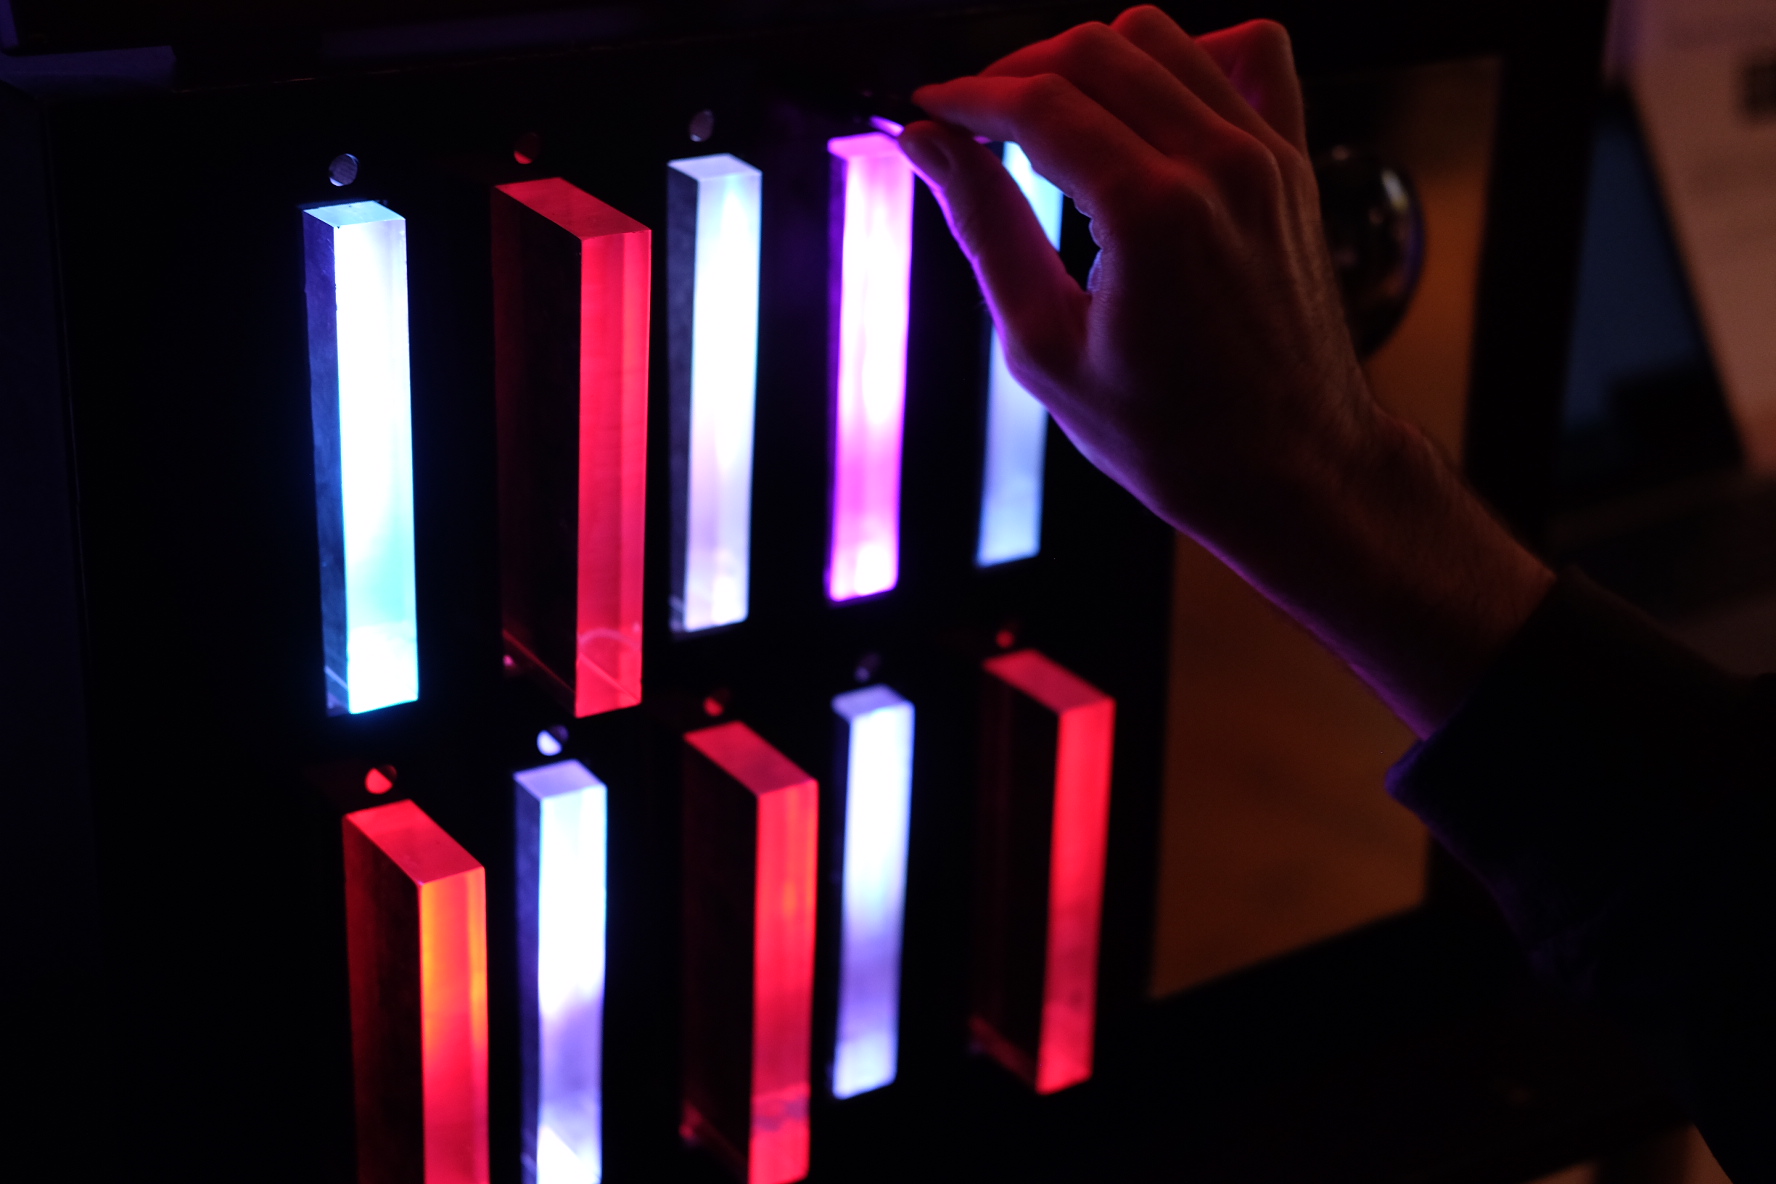
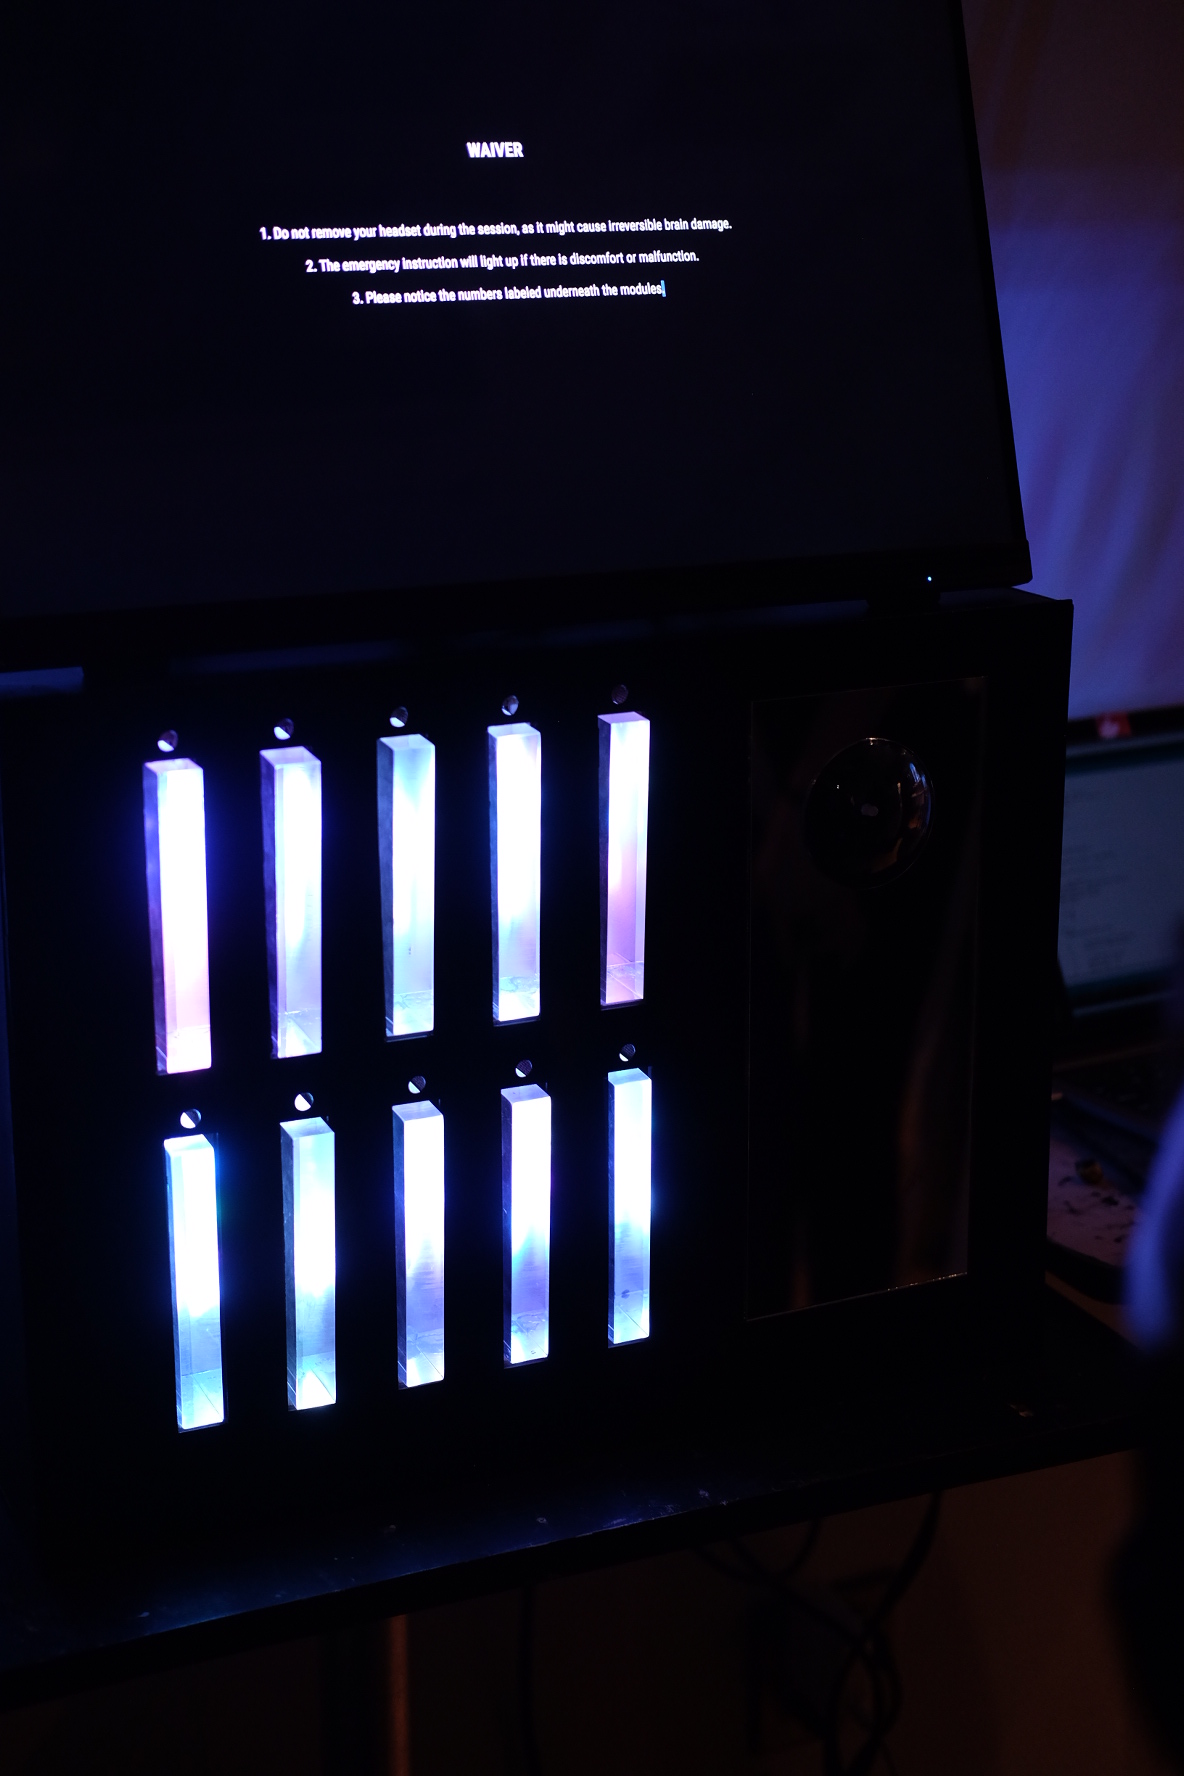
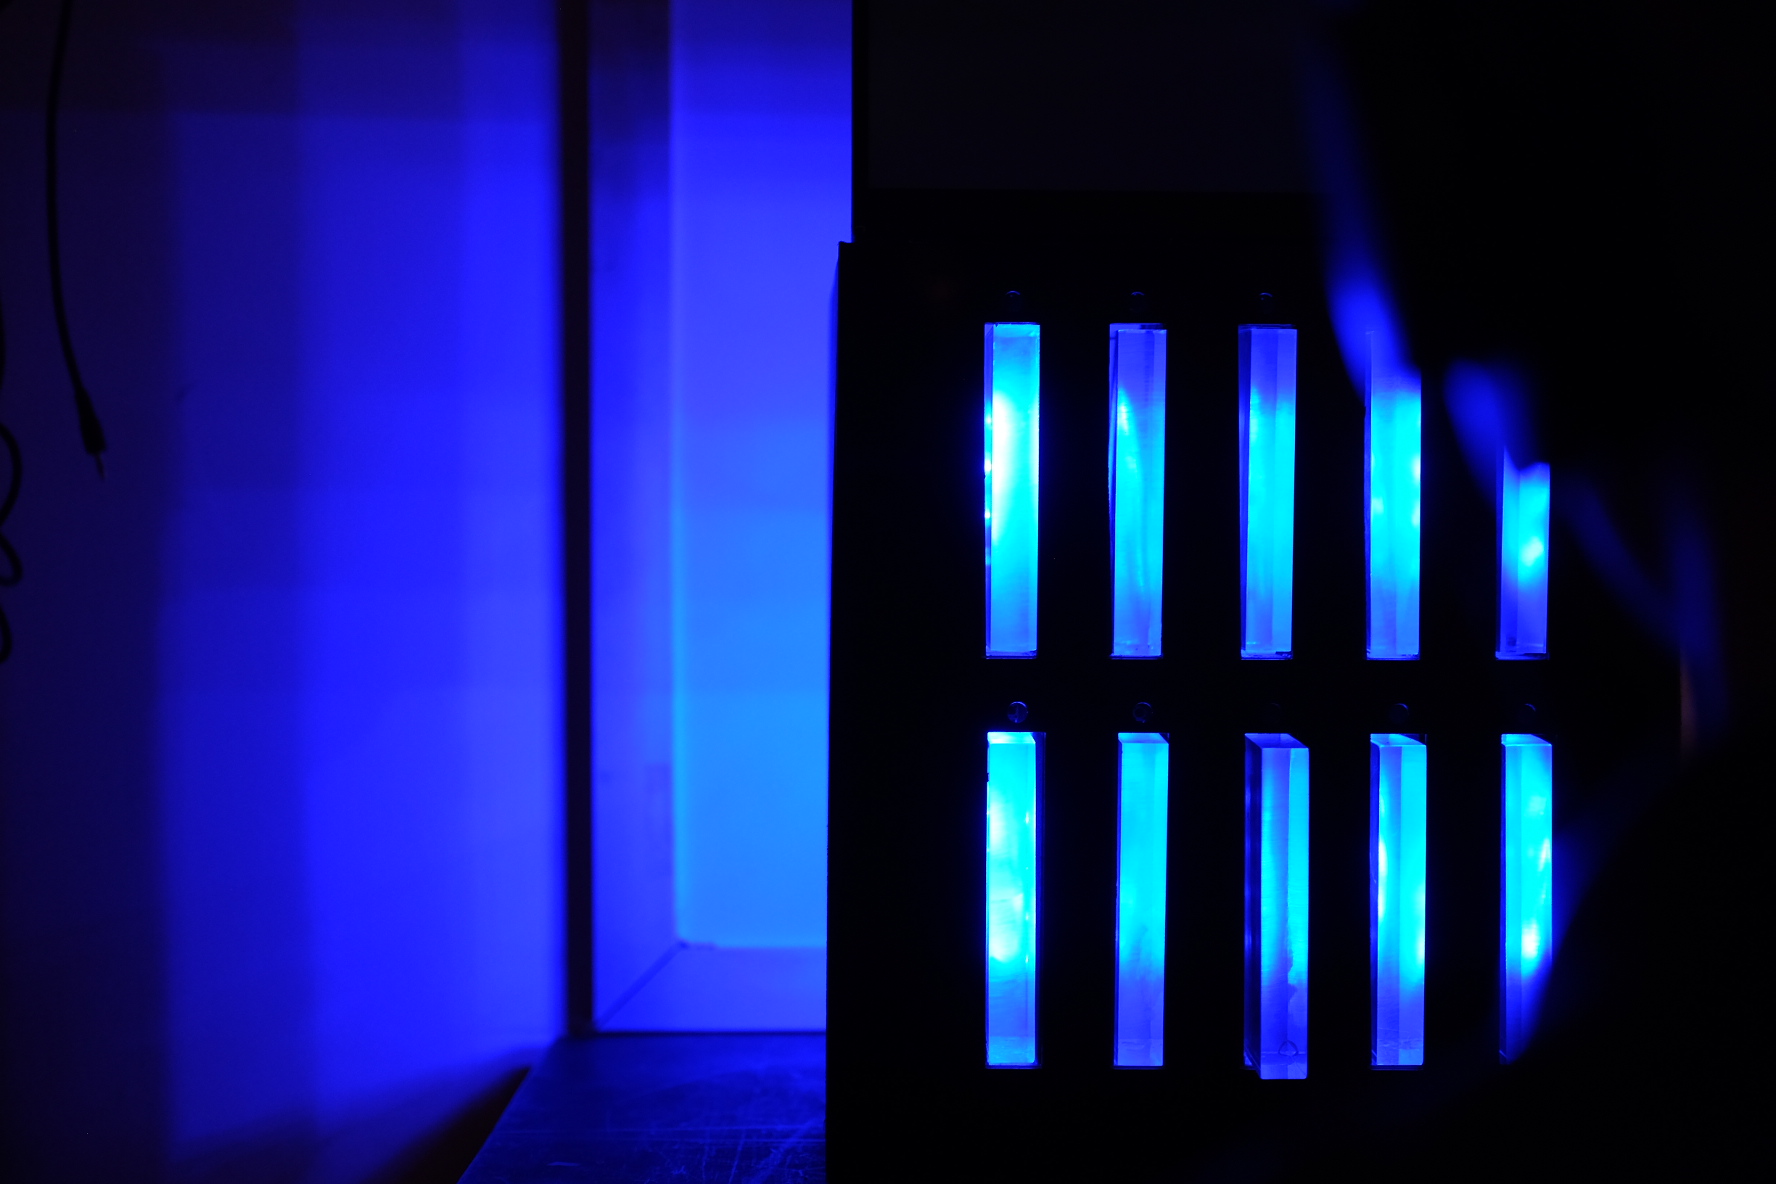
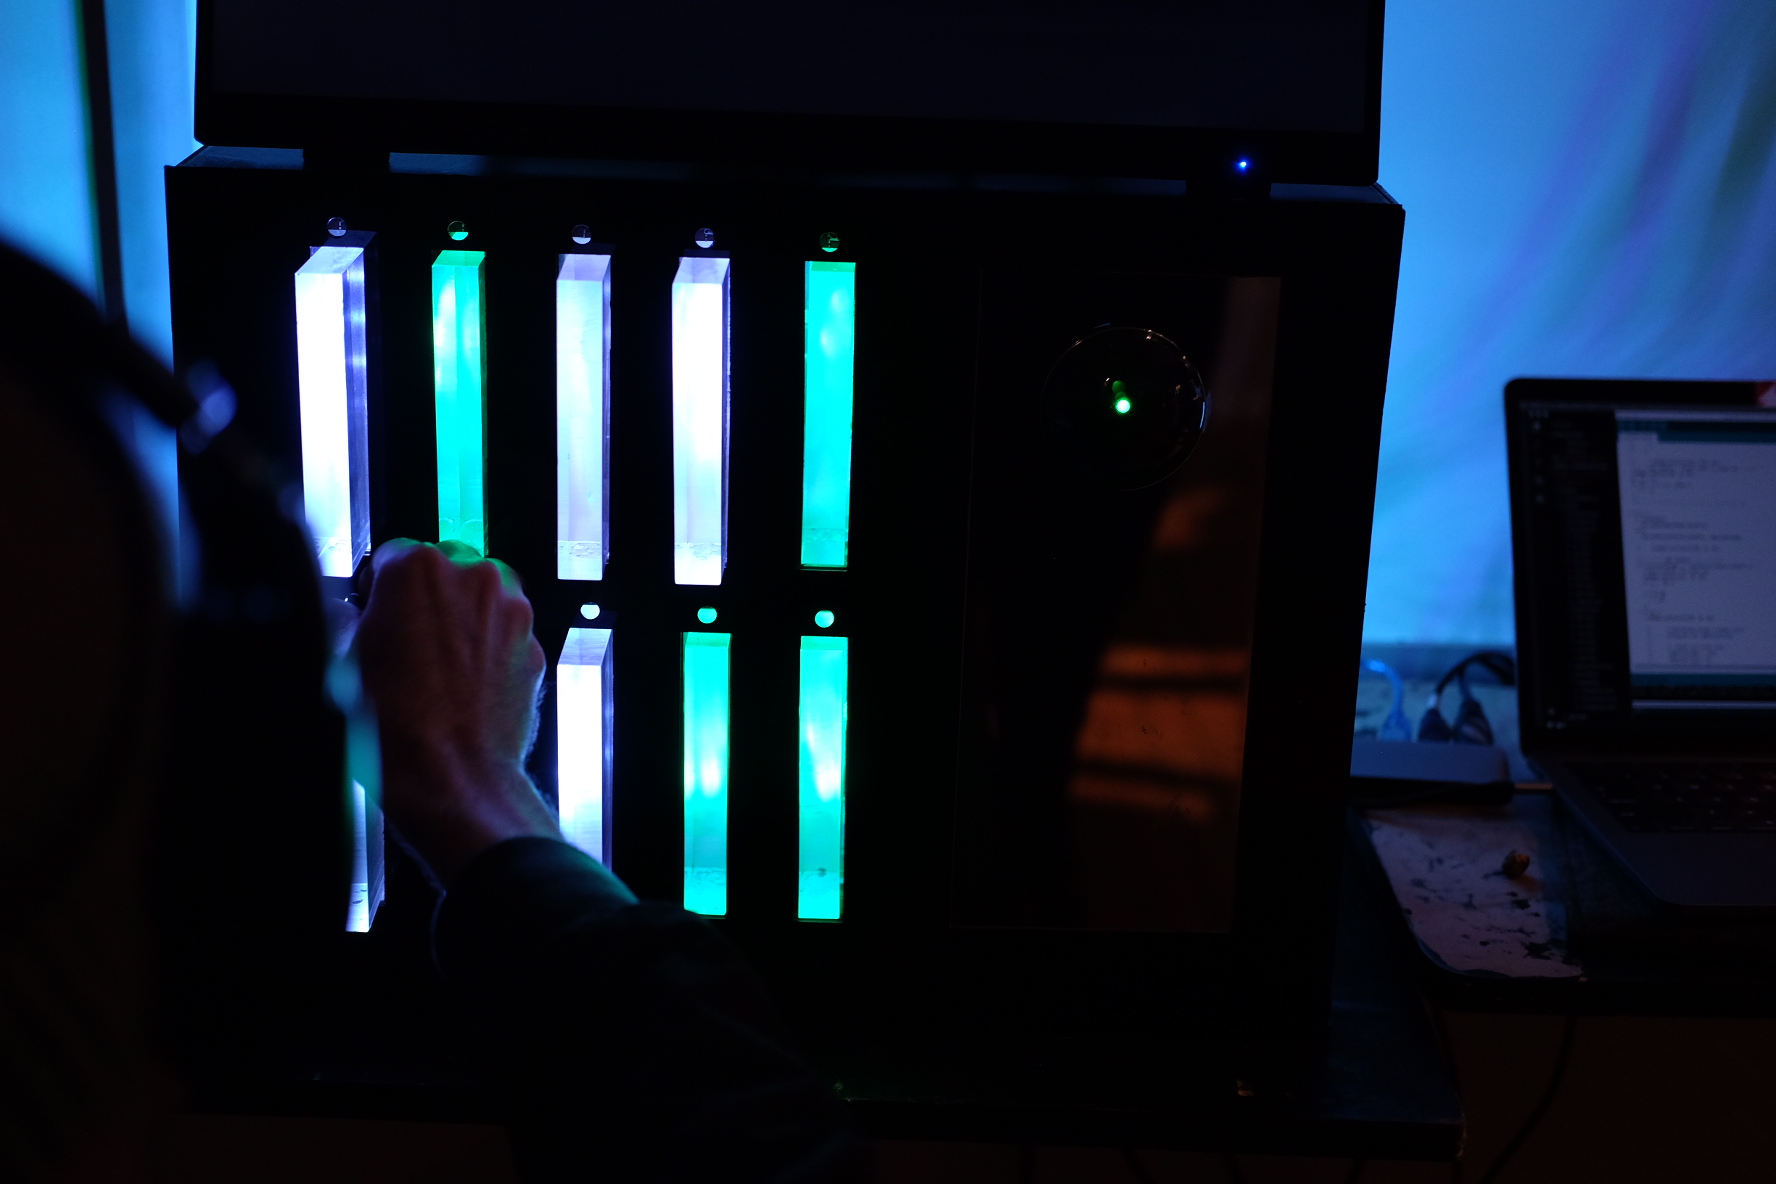
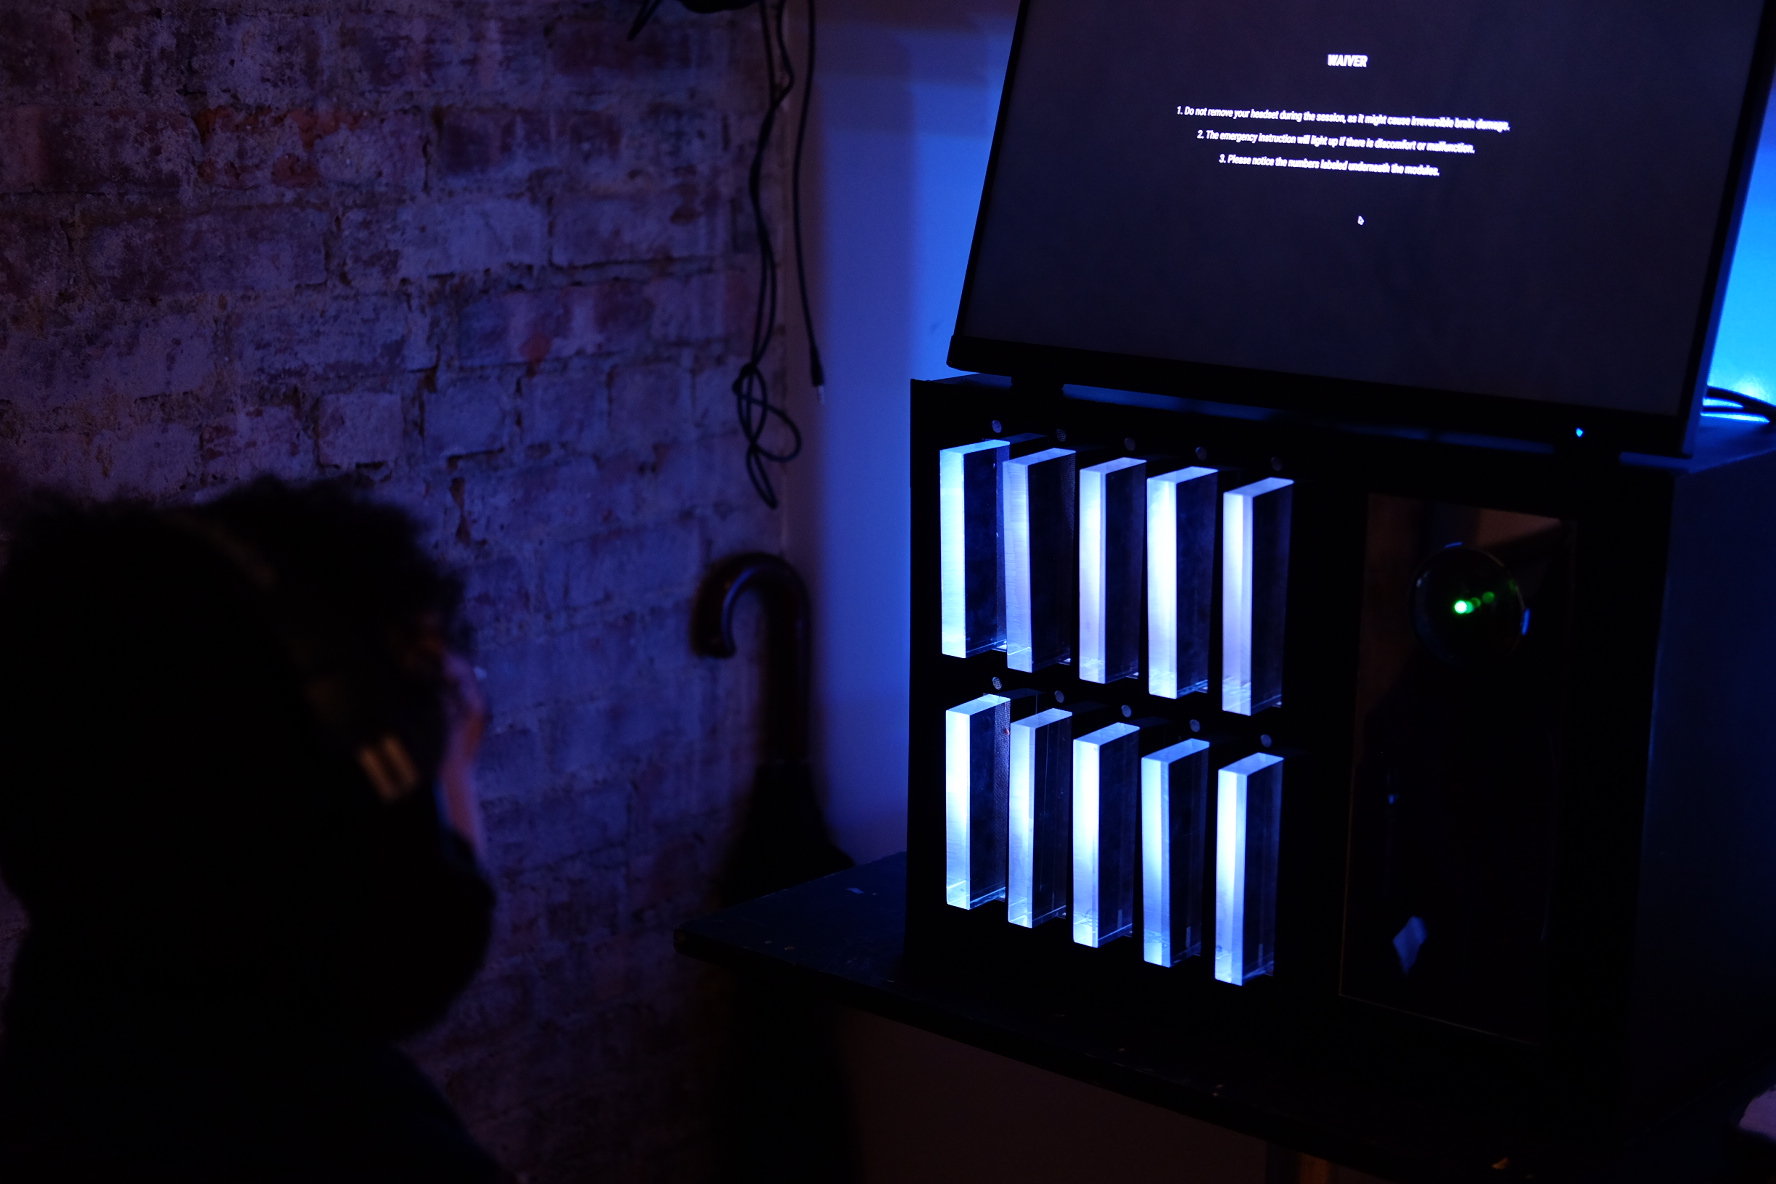
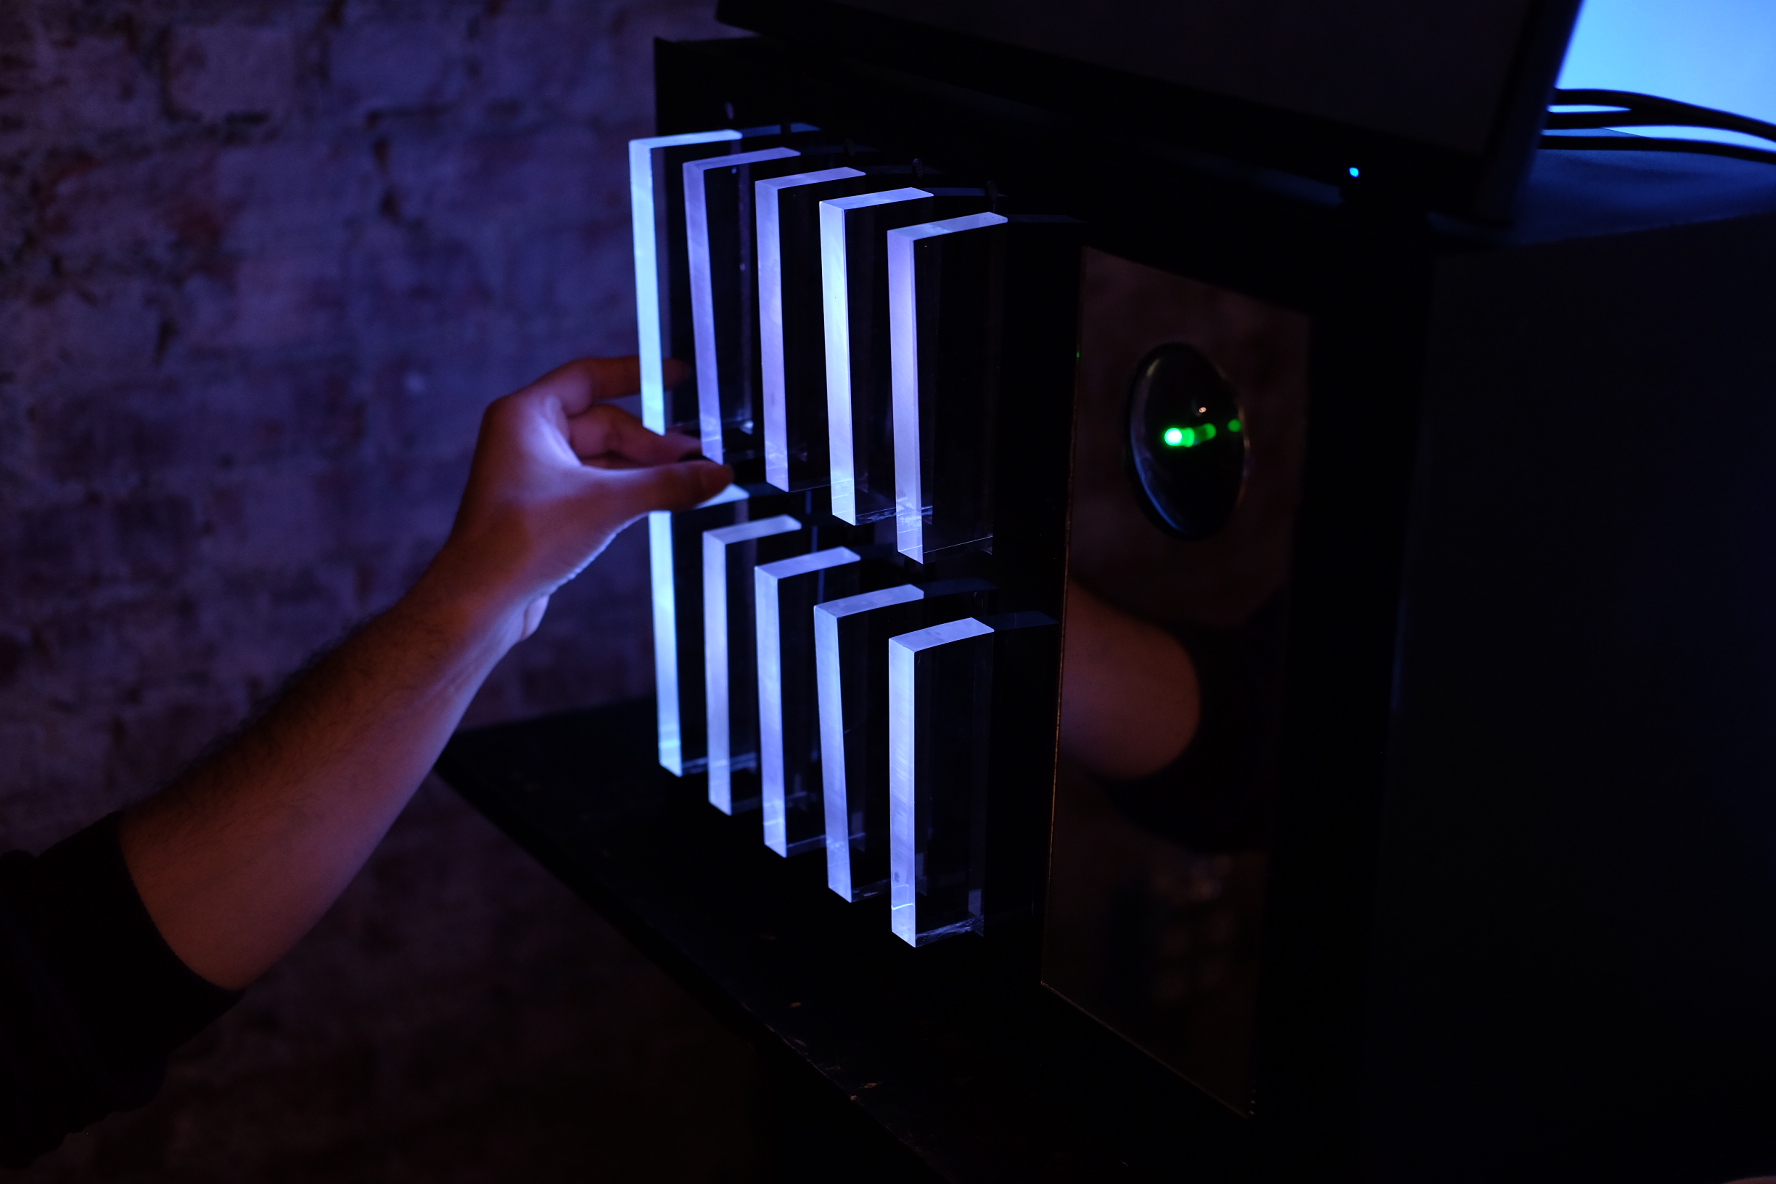
This is a collaborative project with Vince and Yves. It is an interactive voice/sound installation about a future AI therapy program - Jane.
Inspiration: our first inspiration for the project came from a scene from the movie 2001: A Space Odyssey, where David was shutting down the AI HAL by extracting the modules from the wall as it threatened the ship crew's life. So we played with the idea of the downside of AI technology and started to build our own story around it.

Ideation, playtest & iteration:
Our first idea was simply a sound machine, the sound would start off very pleasant in the first half, just like when AI technology was first created, it was praised to be very helpful and smart. As the sound progresses, it becomes more chaotic and uncontrollable, as a metaphor that when AI technology matures, a lot of moral issues start to emerge and may come to a point where it goes beyond human control. The sound would then make the user feel compelled to shut down the machine.
However, through discussion, we agreed that the first idea lacks meaningful interaction, if it is just playing sound and users will be able to activate and deactivate by inserting and extracting the module, then it would be just like replicating the movie scene.
System diagram
So we came up with a second idea - an interactive story-telling installation, a machine that "speaks". Similar to "Choose Your Own Adventure" gamebooks, users will receive different visual/audio feedback based on the path they choose. Therefore, we created an AI character that prevents emotional illness through sound therapy. AI will prompt the user to activate the sound modules in the first half, then the AI will reveal that the best way to prevent emotional illness is to eliminate all the emotions. The emergency instruction will pop out, users can follow the sequence on the instruction to deactivate the machine.
From our first round of playtesting with a cardboard box and manually triggering sound clips based on users' actions, 100% of the users chose to shut down the machine with the instruction provided. The result came out more predetermined than "Choose Your Own Adventure". We observed users actions and collected feedback and concluded the reason behind the skewed result was 1. hearing that their emotions will be eliminated from a threatening machine voice, no one would just obediently let it happen; 2. the emergency instruction popping out from the box was too compelling that user felt it was imperative that they follow.
We brainstormed how we could make changes to the story to balance the results. In the third version, we changed the plot twist from AI eliminating emotions to uploading user's mind to a perfect simulation. This time, the AI will sound way more nice and friendly. We will also give the emergency instruction to the user at the beginning instead of having it built in and pop out from the middle.
Round 1 User Testing
Based on the revised script, we named the AI Jane. I made a virtual interface of the physical interaction in the browser using p5.js, p5 Sound and Tone.js (code linked below), and used it to playtest further while the physical box was still under construction. And this time, we had the opposite result from the first round. Instead of everyone shutting down the machine, 80% of the users did nothing after the plot twist and just sat there and had their minds "uploaded". The result was still skewed, but we gathered the most useful feedback on why or why not they would deactivate the machine and iterated accordingly.
Observation 1: users had no reaction at all during deactivation stage because
a) they forgot about emergency instruction provided in the beginning.
b) they knew mind uploading is unreal, they did not feel threatened by Jane's words, instead, were curious to know what's happening next.
c) the plot twist was not obvious and did not sound sinister enough to make them feel threatened.
Observation 2: users attempted to deactivate following the emergency instruction before the plot twist where they were not supposed to deactivate.
Observation 3: users attempted to activate/deactivate the modules while modules were locked as Jane was talking but there was no feedback and user got confused.
Observation 4: users found it hard to focus on the redundant voice clips for a long time, some even started to check their phones during the interaction.
Observation 5: Some users who chose to have their minds "uploaded" explained they waited a long time and built up high expectations to find out what would happen but was disappointed by the abrupt ending when Jane congratulated user and ended the session.
Observation 6: out of the users that did attempt deactivation, they tried their best to follow the sequence to deactivate Jane. They felt tension at this stage because the uploading timer started and Jane was uploading users "minds" step by step, and they felt like they were fighting it.
Having rounds after rounds of playtests, we concluded: 1) users who deactivated Jane were somehow excited by the urgency when Jane was uploading their minds but they only had limited amount of time left to save themselves from being uploaded. They also enjoyed the tension of resisting against Jane as she persuaded them to stay every time they managed to deactivate a module. 2) as for the users who waited to see what would happen after Jane finished uploading, they felt not impressed and convinced by the ending, because they knew mind-uploading was not real as much as they were not emotionally invested in the plot to believe in Jane. Therefore this path of the story is less interactive and interesting.
So we decided we need to go back to our earlier version of the interaction where we would make Jane's intention and voice more hostile to provoke users to deactivate, as well as having a prominent emergency instruction to compel the users to follow. Therefore, we focused on gamifying the whole interaction to make deactivation stage the core interaction of the game. The goal was to get users to fight against Jane while Jane is counting down the stages left till mind upload. If users complete the sequence before uploading steps are completed, they win.
With the new goal in mind, we refined the script and improved the interface by changing the timing of displaying the deactivation sequence back to the point where Jane reveals her true intention. We wanted to have it built inside the box, popping out from the side, but at this point, it was too late to restructure the almost-finished box. So we decided to have it displayed on a separate screen with alarming color indicating malfunction so users will not forget about the option to deactivate when it is time for them to do so and it will also avoid the situation where some users attempt to deactivate in the beginning. We also enhanced visual feedback on the led strips when buttons are locked at certain points when Jane is talking.
Finalized user flow:
user comes in with key provided, reads the waiver, puts on headphones, taps "start session" button on the touchscreen on top of the box.
Jane greets user explains she will analyze user's brain activity during the session and prompts the user to activate modules.
Jane starts to play sound and chats with user.
When the 10th module is activated, Jane reveals that the current reality is so corrupted that she will put user into sleep and upload user's mind into a perfect world.
Emergency deactivation instruction lights up while Jane starts her uploading process, and counts down the seconds left till uploading.
User follows the deactivation sequence to shut down the system before the uploading process is completed.
Circuit:
Electronic components include: 5V 20A power supply, Arduino Mega, 10 push buttons, 10 servo motors, 1 LPD8806 RGB LED pixel strip, 1 RGB LED
Since we need to have enough power to drive 10 servo motors at a time. The servos we have operates on 5V and 500mA-900mA. As we also need to power led strips, we need at least 5V and 10A power supply. We borrowed a 5V 20A AC to DC Power Supply from Professor David Rios. Under his guidance, we learned how to connect a power cord to the power supply's live line, neutral line, and ground for input, and stranded core wires to the power output using crimper tools and tube end terminals.
Fabrication:
We purchased acrylic sheets and 10 clear acrylic blocks as Jane's front panel and modules. We used laser cutter and power tools to cut acrylic and wooden sheets for the internal supporting structure for blocks and servos as well as the external box.

Following this Adafruit tutorial, we understood slider crank mechanism and laser cut our own connecting rods and sliders for moving the acrylic blocks with servo motors
We 3d printed a key used to insert into the keyhole on the front panel to activate and deactivate the modules.
We then cut and soldered 2 LPD8806 LED pixel strips into 10 small strips, and fixed them on the supporting structure.
finished box
Class demo with volunteer user:
Demo interaction with test voice clips:
Code:
Arduino w/ Serial Communication: https://github.com/vince19972/itp_pcomp-final/blob/stable-version-update/arduino-main/arduino-main.ino
P5 sketch w/ Serial Communication: https://github.com/vince19972/itp_pcomp-final/tree/stable-version-update/serial-communication
P5 virtual interface for playtest: https://github.com/ada10086/itp_pcomp-final/tree/develop/MAL_user_test
Jane's voice generator:
https://www.naturalreaders.com
Roadblocks:
One thing we didn't expect that cost us more time than planned was wiring. Given we have 10 sets of everything, the wires got messy and tangled pretty fast, very difficult to debug and detect issues. It took us an entire night to set up and organize all the wires. We learned the lesson that we should always take into account the extra time needed for wiring things.
As we were constructing our circuit, we also spent the most time figuring out our power supply issue. At first, we plugged the 5V 20A power output directly into the breadboard, after a few seconds things started to heat up and the power connections on the breadboard started melting so we immediately unplugged the power. Later, we realized because the wires from the power supply are carrying 20A, it is way higher than what a regular solderless breadboard can handle (1-3A). One solution was transferring everything onto solderless breadboard connected with power through screw terminal blocks, which will stabilize all the connections and fix the burning breadboard problem. However, at this point, it was too late to redo all the wires we already soldered and secured with hot glue on the structure. We came up with a way to split the output power +v and -V wires each into 4 thinner wires by soldering wire to wire, and have 4 +v and -v thin wires plug into 4 separate breadboards so that they are splitting the power from 20A. It was not the best practice because the amperage was still overloaded but we tested the stability of the circuit and the breadboard was no longer heating up so we settled a temporary solution while we test our serial communication.
One more issue we had was that the NeoPixel(WS2812) and Servo libraries are fundamentally incompatible. NeoPixel is dependent on periodically disabling interrupts, but servos absolutely requires interrupts, because they need a regularly controlled pulse. The timing requirements on the NeoPixels means the software cannot be interrupted otherwise the timing falls in pieces. We tried to use TicoSerco library which solves the issue of using servo and NeoPixels together but it is limited to 2 servos on the most popular boards. Even though we already cut, soldered and fixed our pixel strips in place, our last resort was to move to a 4-wire led chipset, LPD8806. "Because this chipset doesn't have the WS2812 timing requirements, they don't need to have interrupts disabled while writing data out, and this problem never happens." explained in this repo.
Take away:
Defining the purpose and having that goal of the project in mind is very important in building the whole project, as what the project does defines the core interaction. Is it a storytelling installation, an instrument, a meditative sound environment, or a game? We tried to do too many things at once in a limited amount of time and we got lost in the process, struggling to make every part perfect as its own project, the sound design, the voice script, the plot, the physical mechanism, and sometimes they don't necessarily go well with each other without a clear goal defined. Thanks to numerous rounds of playtesting, we narrowed down our focus to a game piece. And once the conceptual idea was fixed, we were no longer stuck on ideation and was able to just focus on the hardware and software design that serve best for the purpose.
Always power up and test the compatibility of all the electronic components before securing things. We had the order reversed, we fixed all the wires onto our structure before we tested if our circuit components would even work with each other. It was too late to redo the whole circuit after we figured out the breadboard issue, and we underestimated the degree of complexity when using LED strips together with other components, therefore went through a whole series of troubles to redo the LED strips last minute. If we had run all the components together and tested them out, we wouldn't have wasted so much time destruct everything we already constructed to fix the problems.
Always save extra time for wiring and securing circuit.
Winter show comments:
Although there were still some minor software bugs in our program during the show, like sending serial data back to Arduino to lock the button and change the color of LED strips at the correct timing, we managed to present Jane as a future AI therapist with evil intention. People were so intrigued by how futuristic and mysterious the box looked and curious to find out what this box does. They enjoyed the satisfying process to insert the key and watch modules sliding in and out with beautiful changing lights. Many of them also expressed how they loved the concept of borrowing the interface from a classic sci-fi movie and turn it into a game with a different story.
Winter show footage:


