My final is a collaborative project with Vince and Yves, combining Physical Computing, ICM, and Code of Music. It is an interactive voice/sound installation about a future AI therapy program – Jane.
Read MoreWeek 8 Pixelated Motion Detection camera
After watching the Brightness Mirror tutorial on processing pixels from video capture to lower resolution without RGB, only brightness values, I decided to modify this example into a pixelated motion detection camera, so that if there is any change in any pixel values, fill that particular pixel to red color. I approached this by adding a new variable pbright at the end of the nested for loop, hoping to save the brightness value of each pixel from the previous frame, and compare with the current frame. However, it turned out that my camera seemed to have turned the pixels with brightness values above a certain threshold into red, and filled the darker pixels with brightness values. Code: https://editor.p5js.org/ada10086/sketches/r1IiME9nm
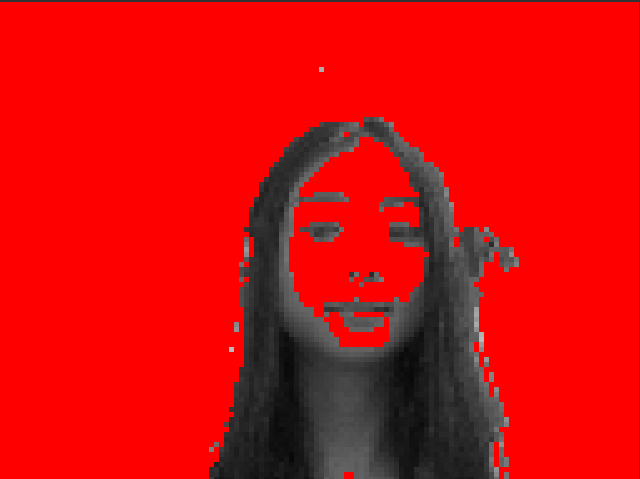
I had Dan look at my code and it seemed like inside the nested for loop, I was comparing the brightness value of the current pixel with the brightness value of the previous pixel in the pixel array instead of the same pixel of the previous frame.
Instead of comparing individual pixels, I had to save all the pixels from last frame as pFrame and compare the pixels in pFrame with pixels in the current frame to detect pixel change(motion). I referred to this MotionPixels code example (tutorial), and combined it with the brightness mirror code.
My biggest issue though was when I called video.pixel[], it wasn't returning anything. In console.log it was an undefined object. However if I changed it to just pixel[], it was doing what I wanted (accessing video pixels), but pixel[] was supposed to access canvas pixels instead of video pixels. video.pixels[] was working in the tutorial, but not working in my sketch, I was told it was a version issue. Therefore, inside index.html, I changed the library version back to 0.6.1 and it worked.
My final code: https://editor.p5js.org/ada10086/sketches/HJfXU_j37
W7 Bandsintown API artist tracker visualization
For this API assignment, I wanted to create some sort of artist follower visualization. So I looked up API documentations for SoundCloud, Spotify, Songkick, and Bandsintown. I requested my API keys and only Bandsintown got back to me. I was able to get different artist information and artist event in json on their public API. However, as i tried to access the same json URL(var url = 'https://rest.bandsintown.com/artists/stimming?app_id=09f313e072cd1b192f200fb70df19ea5') I opened it on the browser on P5 editor, it was always giving me Script error. (: line 0). I changed my editor and same problem still persisted. I couldn't figure out what was the issue, so I decided to manually importing a selection of artists json files to my editor. My original goal was to have user input artist names, the input would locate artists' tracker counts in Bandsintown database, and then have the tracker count draw many little stick figures on the canvas. The more the tracker count, the more figures. I uploaded a few json files of artists information: darke, sia, joji. And in preload, I had drake = loadJSON("json/drake.json"); joji =loadJSON("json/joji.json");... I wanted to access the artist tracker count by: drake.tracker_count. However I couldn't figure out how to convert a user input string "drake" back to variable drake. So I thought about combining individual artist files into one big artists json file with individual artist object labeled by artist names in strings: "drake", "sia"... and access the tracker_count through artists.artists[input.value()].tracker_count, which was an expression I saw in this documentation.

Basically I can access the object values by using the dot(.) notation as well as bracket ([]) notation, which solved my problem.
myObj = { "name":"John", "age":30, "car":null }; x = myObj.name; // x = myObj["name"];
My code: https://editor.p5js.org/ada10086/sketches/HyeGPQI2X
To interact: https://editor.p5js.org/ada10086/full/HyeGPQI2X
ICM W6 sketches
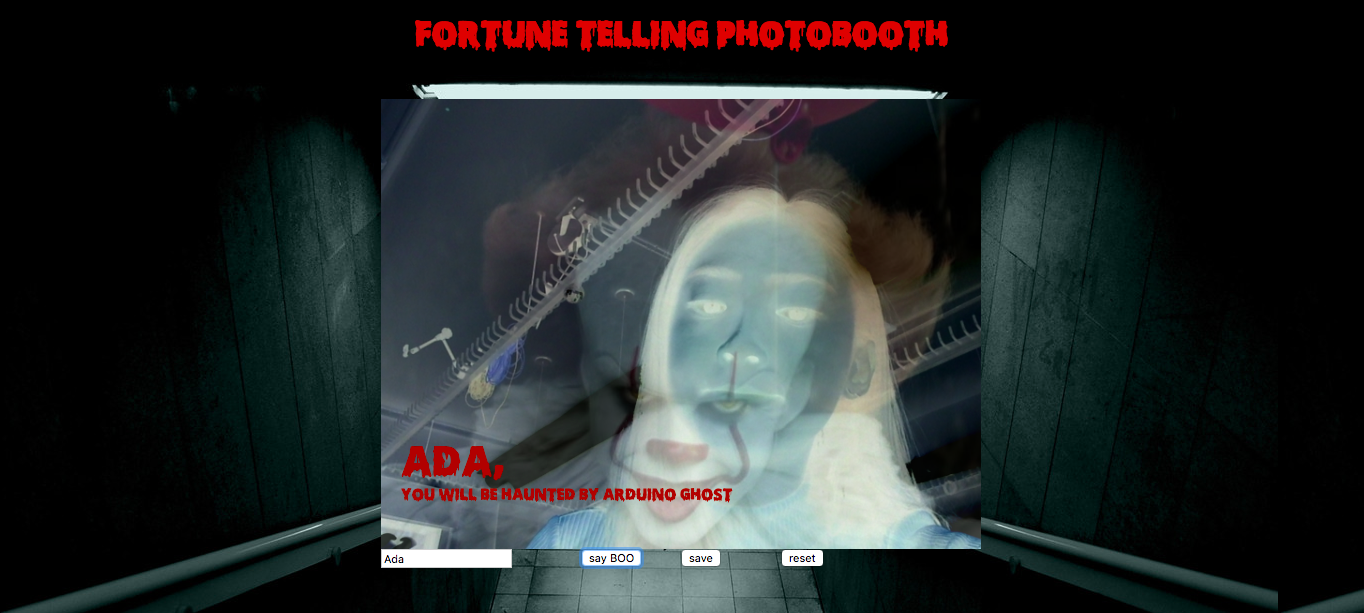
I combined this week's assignment with myHalloween themed Pcomp midterm. The idea is a spooky photo booth that tells fortune. Inspired by the transparency example , I thought about displaying a half opacity ghost/demon image as a filter on top of the webcam image. The DOM elements I added from p5 sketch are: a video capture (webcam = createCapture(VIDEO)) , a text input ( nameInput = createInput('type your name')), a button that calls takePic to freeze the video and display messages, a button that saves the pictures, and a button that reset the webcam back to active. The text input and button elements on the webpage are controlling the photo booth actions on the canvas with different callbacks. I also added a "Fortune telling photo booth" header inside index.html, and used @font-face to set the header font and added a background image inside css. My sketch: https://editor.p5js.org/ada10086/sketches/rksofdUim
To play photobooth: https://editor.p5js.org/ada10086/full/rksofdUim
Another project I made using DOM and HTML is an animal sampler for my Code of Music class. I created a drop down menu for selecting animal sounds using sel = creatSelect(). However, when I call sel.value() to get the animal name which I used to store my preloaded animal sound sample, I can only get a string: 'dog', 'cat', 'cow',etc. So I was wondering if there is a way to convert strings to variable names(to get rid of the ' ' ). I read somewhere people suggested using window[] or eval(), but none of them solved my problem. I had to find a way to use the string value, to load the sound and the image according to the string being selected. Therefore I have:
selectedAnimal = sel.value();
animal = loadImage('animalImage/' + selectedAnimal + '.png');
"F1": 'animalSound/' + selectedAnimal + '.wav'.
to include the the sel.value() within the file name when I load the image and sound files instead of calling a preset variable dog, cat, cow. However, this way I had to convert my sound and image files to make sure they have the same extension png and wav.
Another problem I had when I added the dropdown menu is I cannot change the size, of the texts in the menu, the size() function only changes the size of the menu box, but the text stays the same, I tried to change it in CSS and html file with font-size but nothing changed.
To get around with selecting animals using the dropdown menu, I thought about displaying all the animal images on the webpage underneath the canvas as image elements: dog = createImage(), and have dog.mousePressed() to select the sound sample, code.
However, I couldn't get the absolute positioning of the images correct. I was wondering how to set the absolute positioning using position() as well as in the html/css file.
One problem I had for both sketches is that when I tried to set the canvas to the center of the window, instead of using (windowWidth/2, windowHeight/2), I had to use ((windowWidth - width) / 2, (windowHeight - height) / 2), which confuses me a lot.
To play: https://editor.p5js.org/ada10086/full/SJ8-14tj7
My code: https://editor.p5js.org/ada10086/sketches/SJ8-14tj7
W5 sketches
My first sketch are an array of pipes: I started off thinking about combing my ICM sketch on objects and class with my Code of Music harmony sketch, to have my objects tied to my harmony transposition in some way. So I thought about making gradient strips that resembles certain instruments, and the lengths of strips corresponds to the steps of transposition.
These are my visual inspirations:

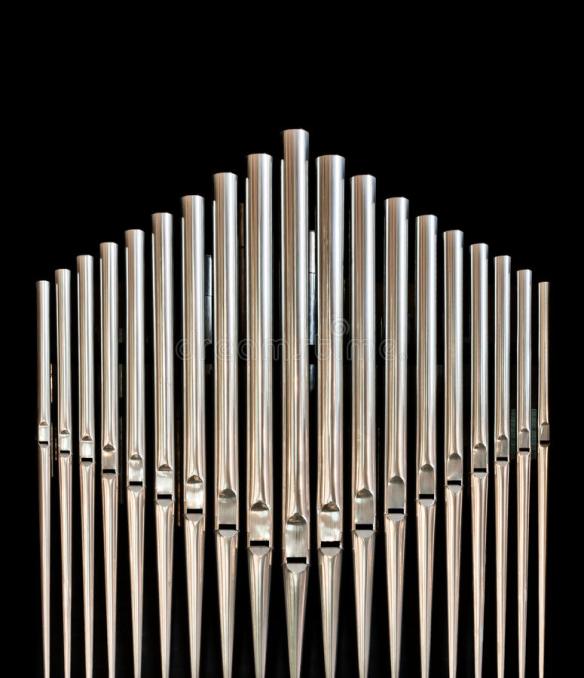
Therefore, as I intended to create an array of strings/pipes, at incrementing x location and incrementing height, I created a Pipe class with constructor _x and _h, with a display function to display each pipe as an array of rectangles reducing in size and increasing in brightness, to achieve the gradient effect, and then initialized an array of pipe objects, and have each pipe's mouseX and height tied to index i to have them evenly spread across the canvas. As I move mouse across the canvas to the right, more pipes are displayed, corresponding to higher pitch therefore bigger transposition steps in harmony.
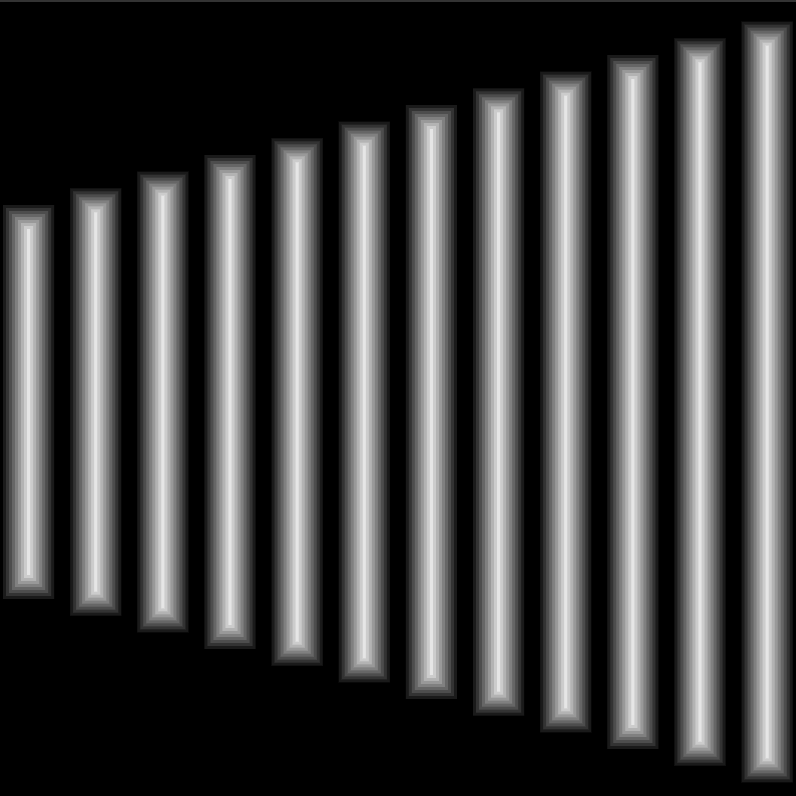
My sketch: https://editor.p5js.org/ada10086/sketches/SytG2QgsQ
My second sketch is drawing random polygons with a Polygon class.
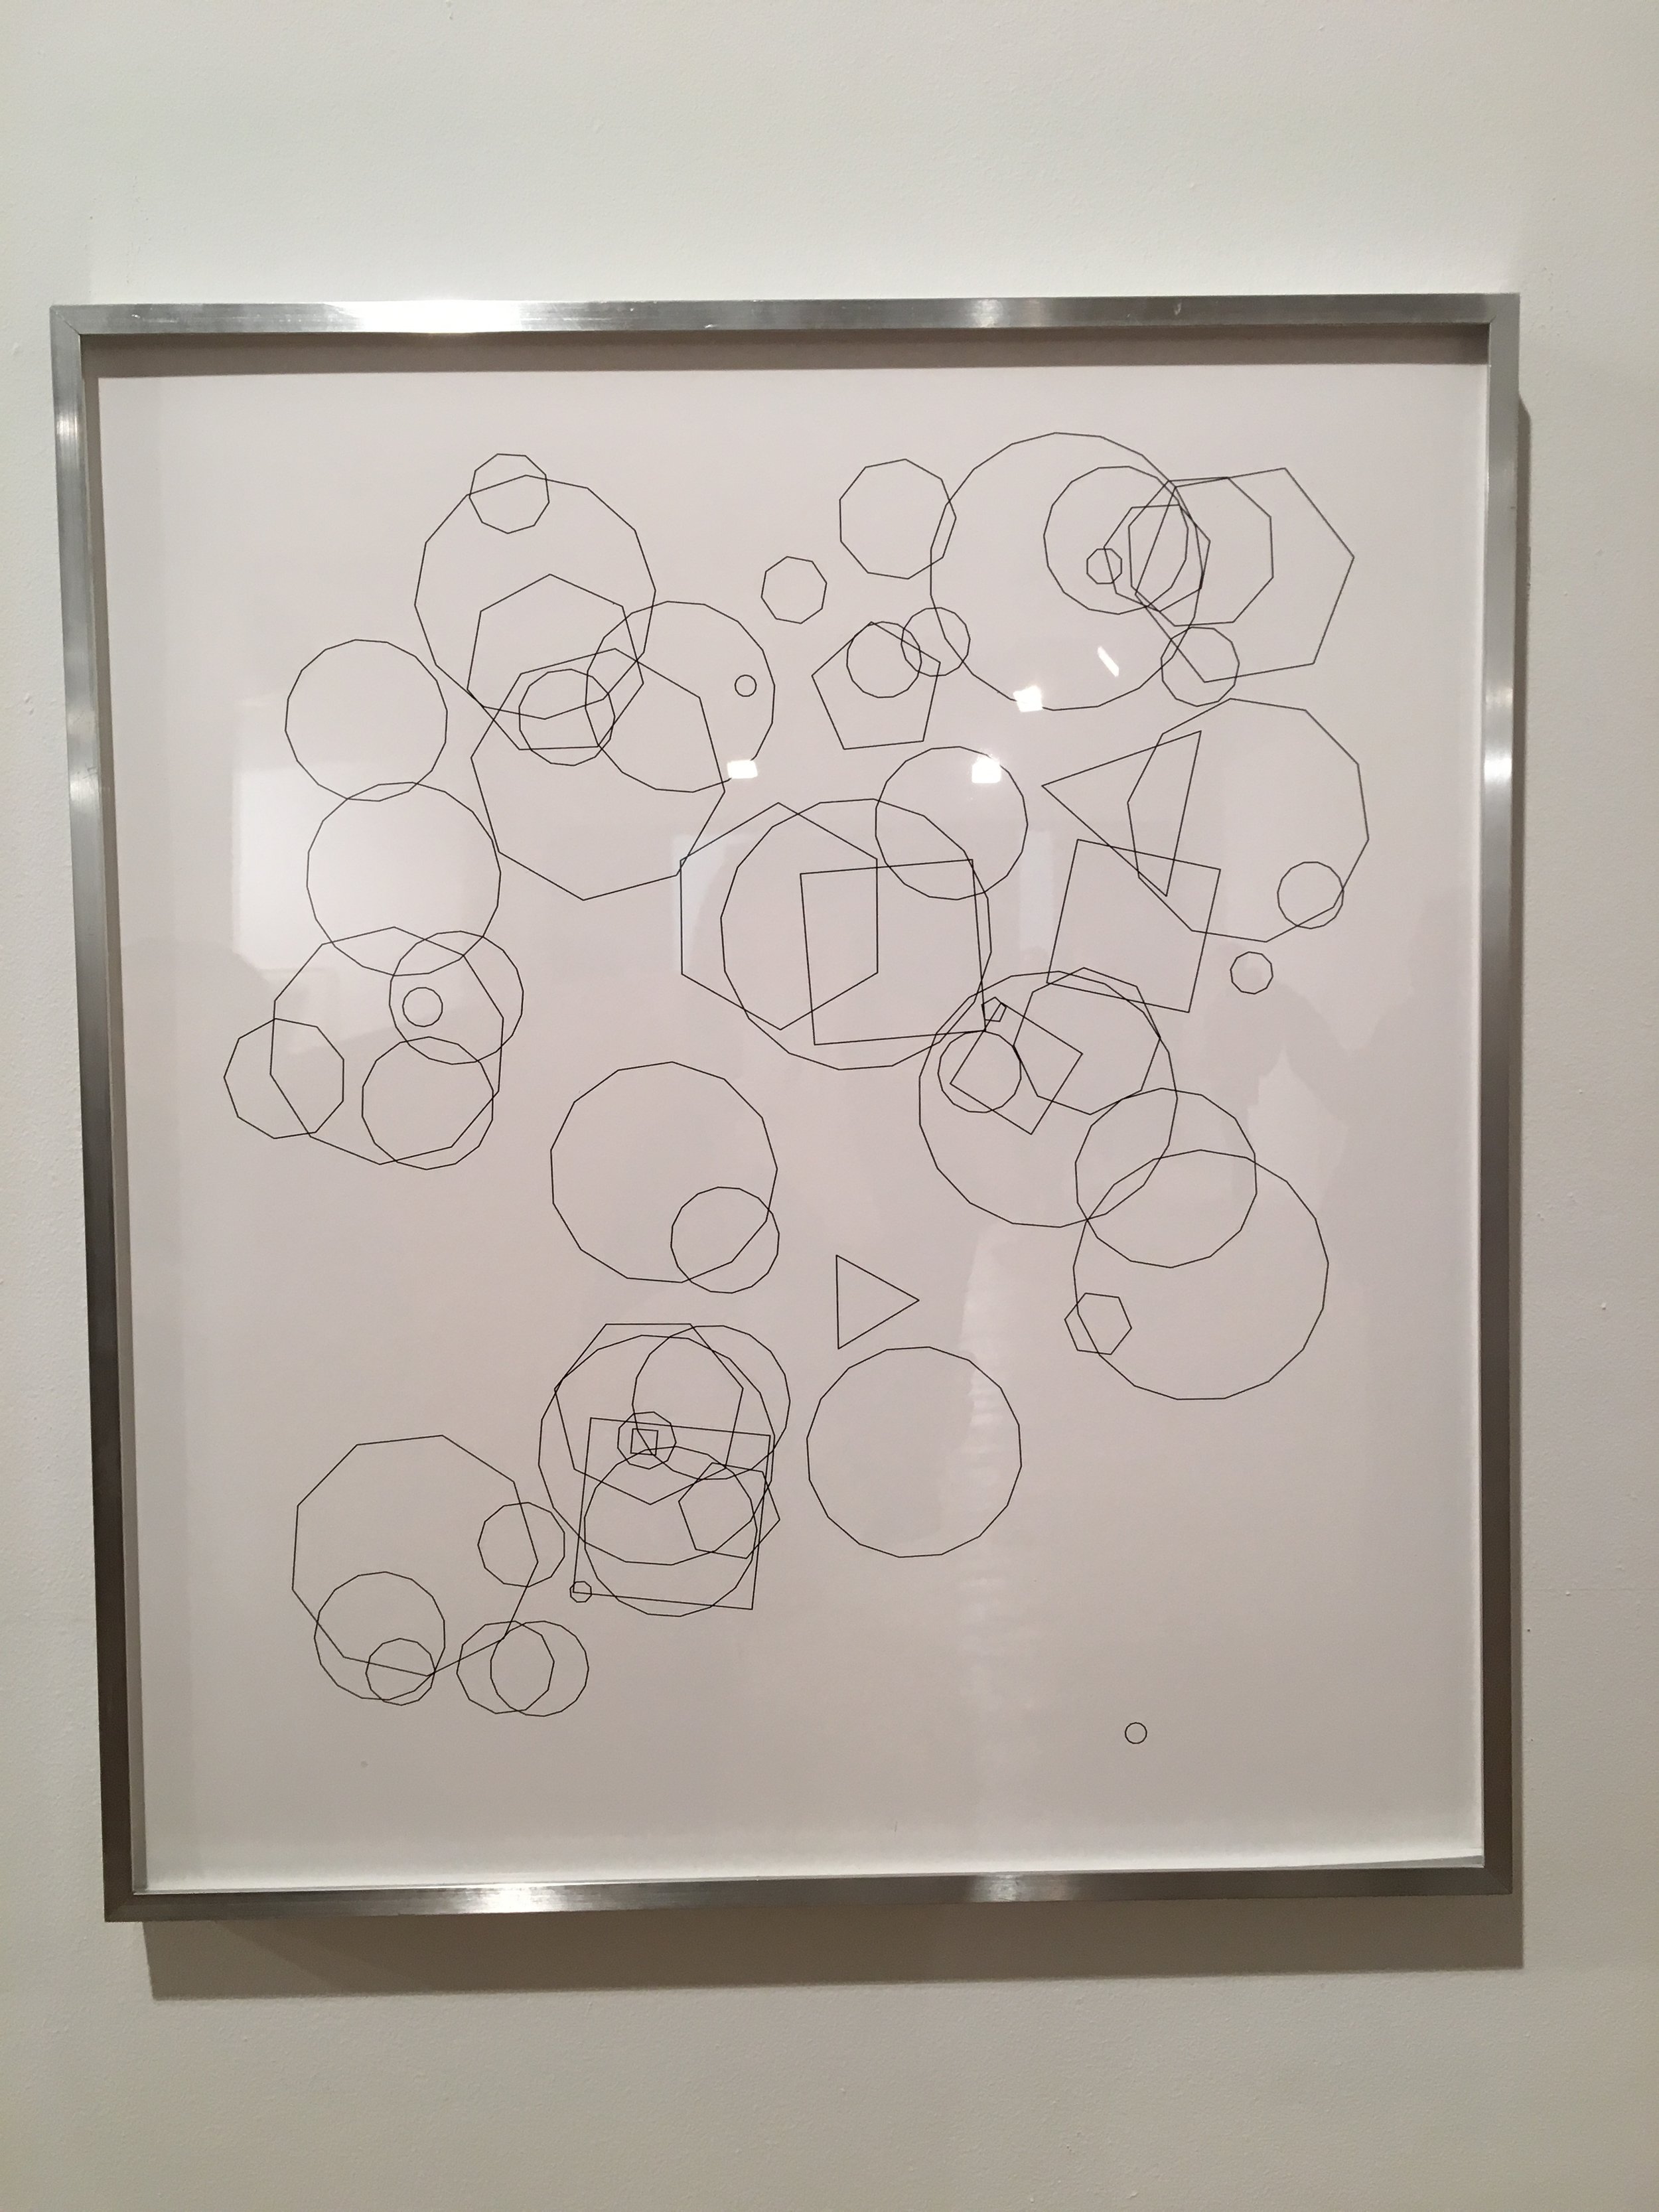
I drew my inspiration from this piece at Open House at Mana Contemporary over the weekend. Unfortunately I only took a picture and did not remember which artist created it, but I thought about recreating the piece with Polygon class and randomize some polygon parameters.
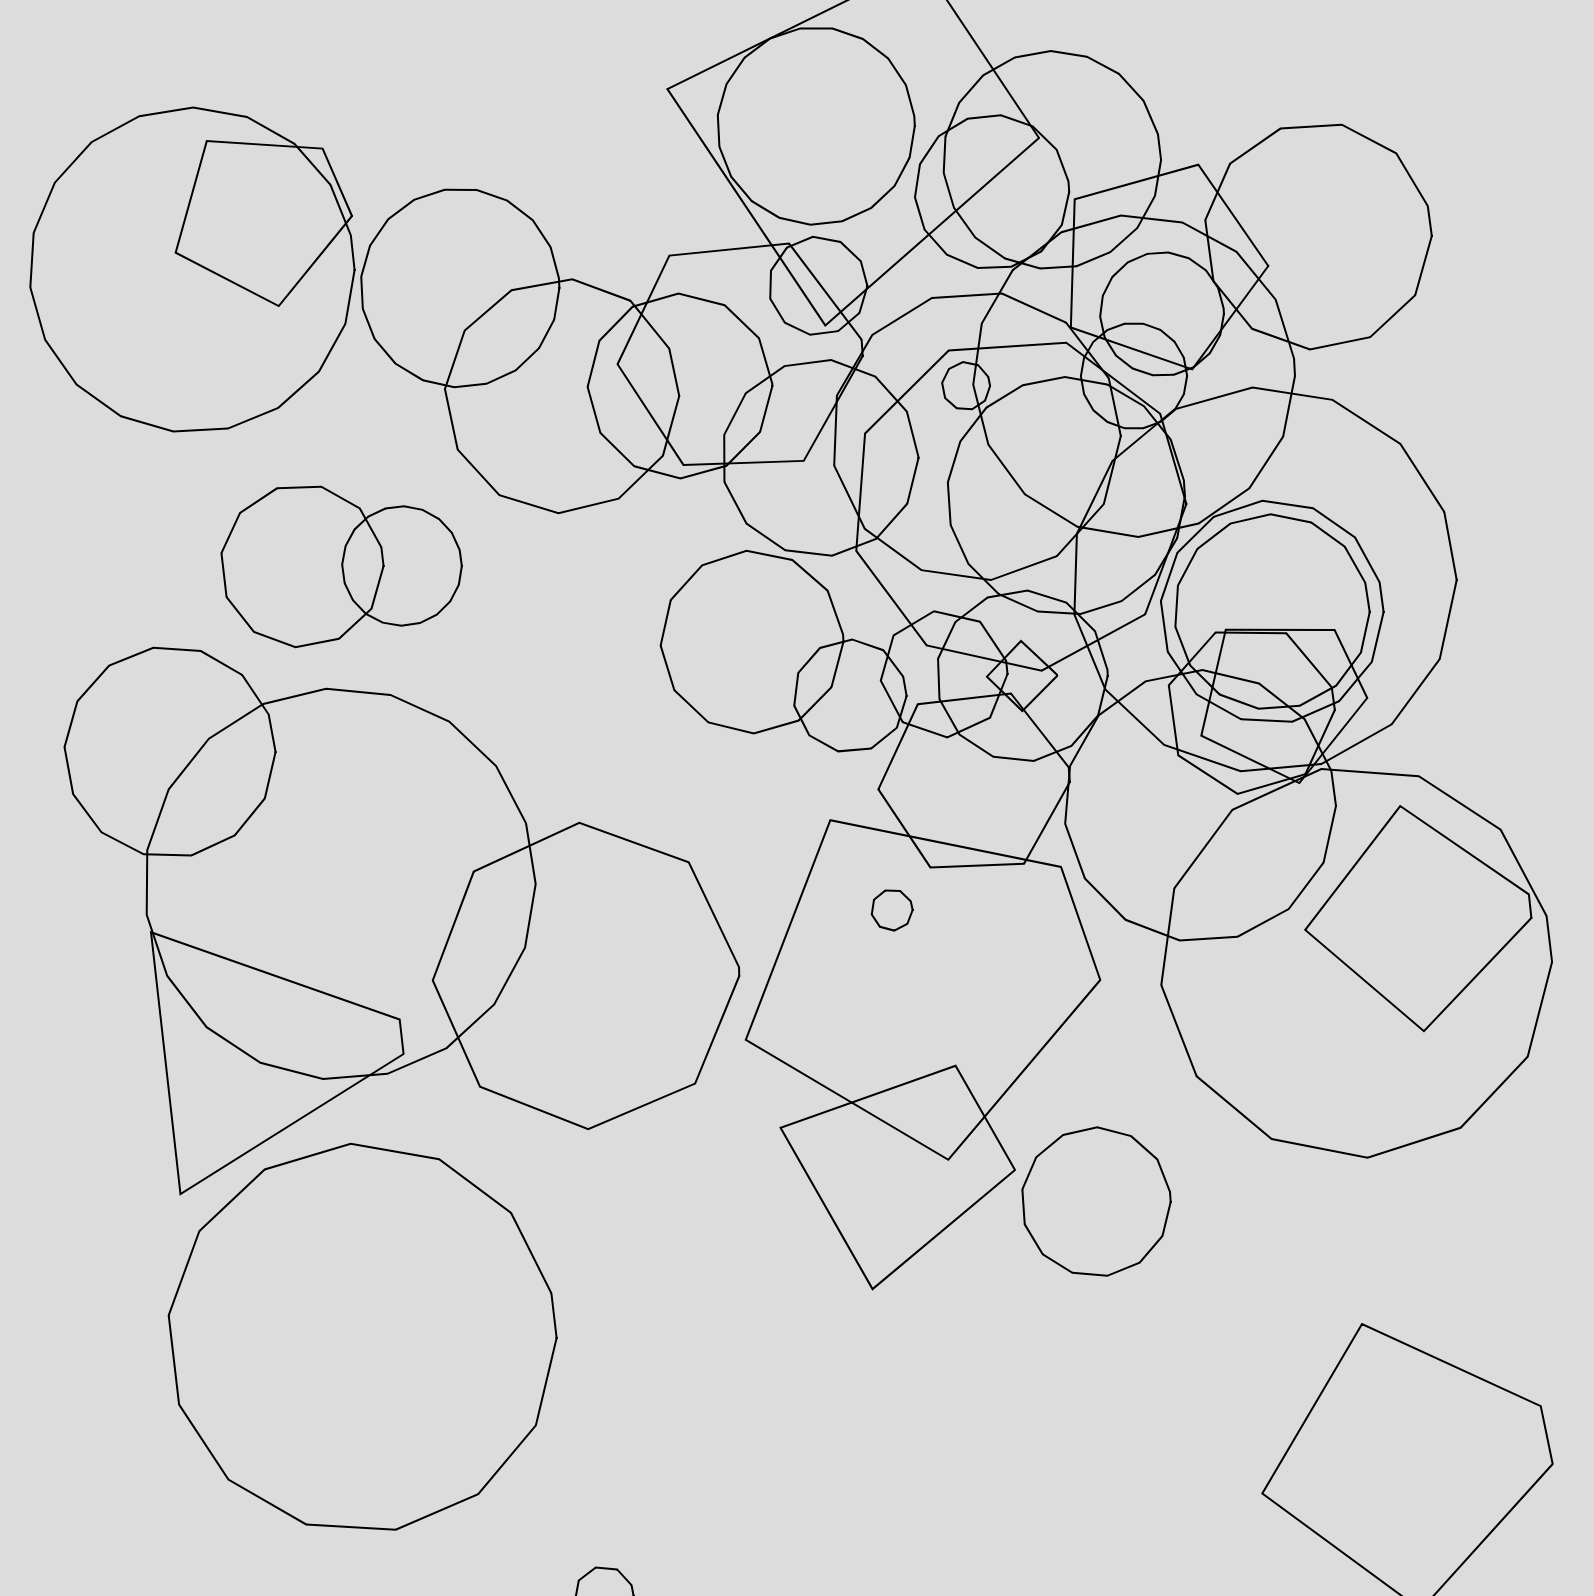
My sketch: https://editor.p5js.org/ada10086/sketches/HJPGi7MoQ
W4 Wave Sketch
I took my code from the Code of Music class' assignment and reworked it to add some interaction elements. I expanded my code from this sine wave example by creating a wave class using a constructor function and created 2 arrays of 8 waves objects, one array moving to the left and one moving to the right, and passed in wave speed, wave period, wave y location and wave color associated with the index of the array. I kept my setup and draw loop as clean as possible by using array of objects and kept most of the code inside the constructor function. I added mouse interaction so that when user click on the left or right half of the canvas, it slows down or speeds up the wave movement. At the same time when mouse click is at the top or bottom half of the canvas, it increases or decreases the wave amplitudes.
As I was creating the wave objects, I came across two different ways of creating objects in p5js, one is using a class, the other is using constructor function. It seems like either way works, but I was a little confused about the differences between the two methods.
To play here: https://editor.p5js.org/full/rJIWWa1qQ
code:https://editor.p5js.org/ada10086/sketches/rJIWWa1qQ
W3 Sketch
I first created a static sketch with a loop of hollow squares. Then I thought about making it more dynamic by rotating and scaling it. I created two sliders , one controlling the rotating speed and the other controlling the scaling speed. and one button to generate a random color for the squares. My original intention for creating the slider was to use if (mouseIsPressed){} because it is used to test if mouse is being held down. So when I'm holding down the mouse dragging the slider, the code inside if (mouseIsPressed){} should be executed. However, I don't know why it did not work. So I referred to the example code for slider and it worked like a charm.
W2 Sketch
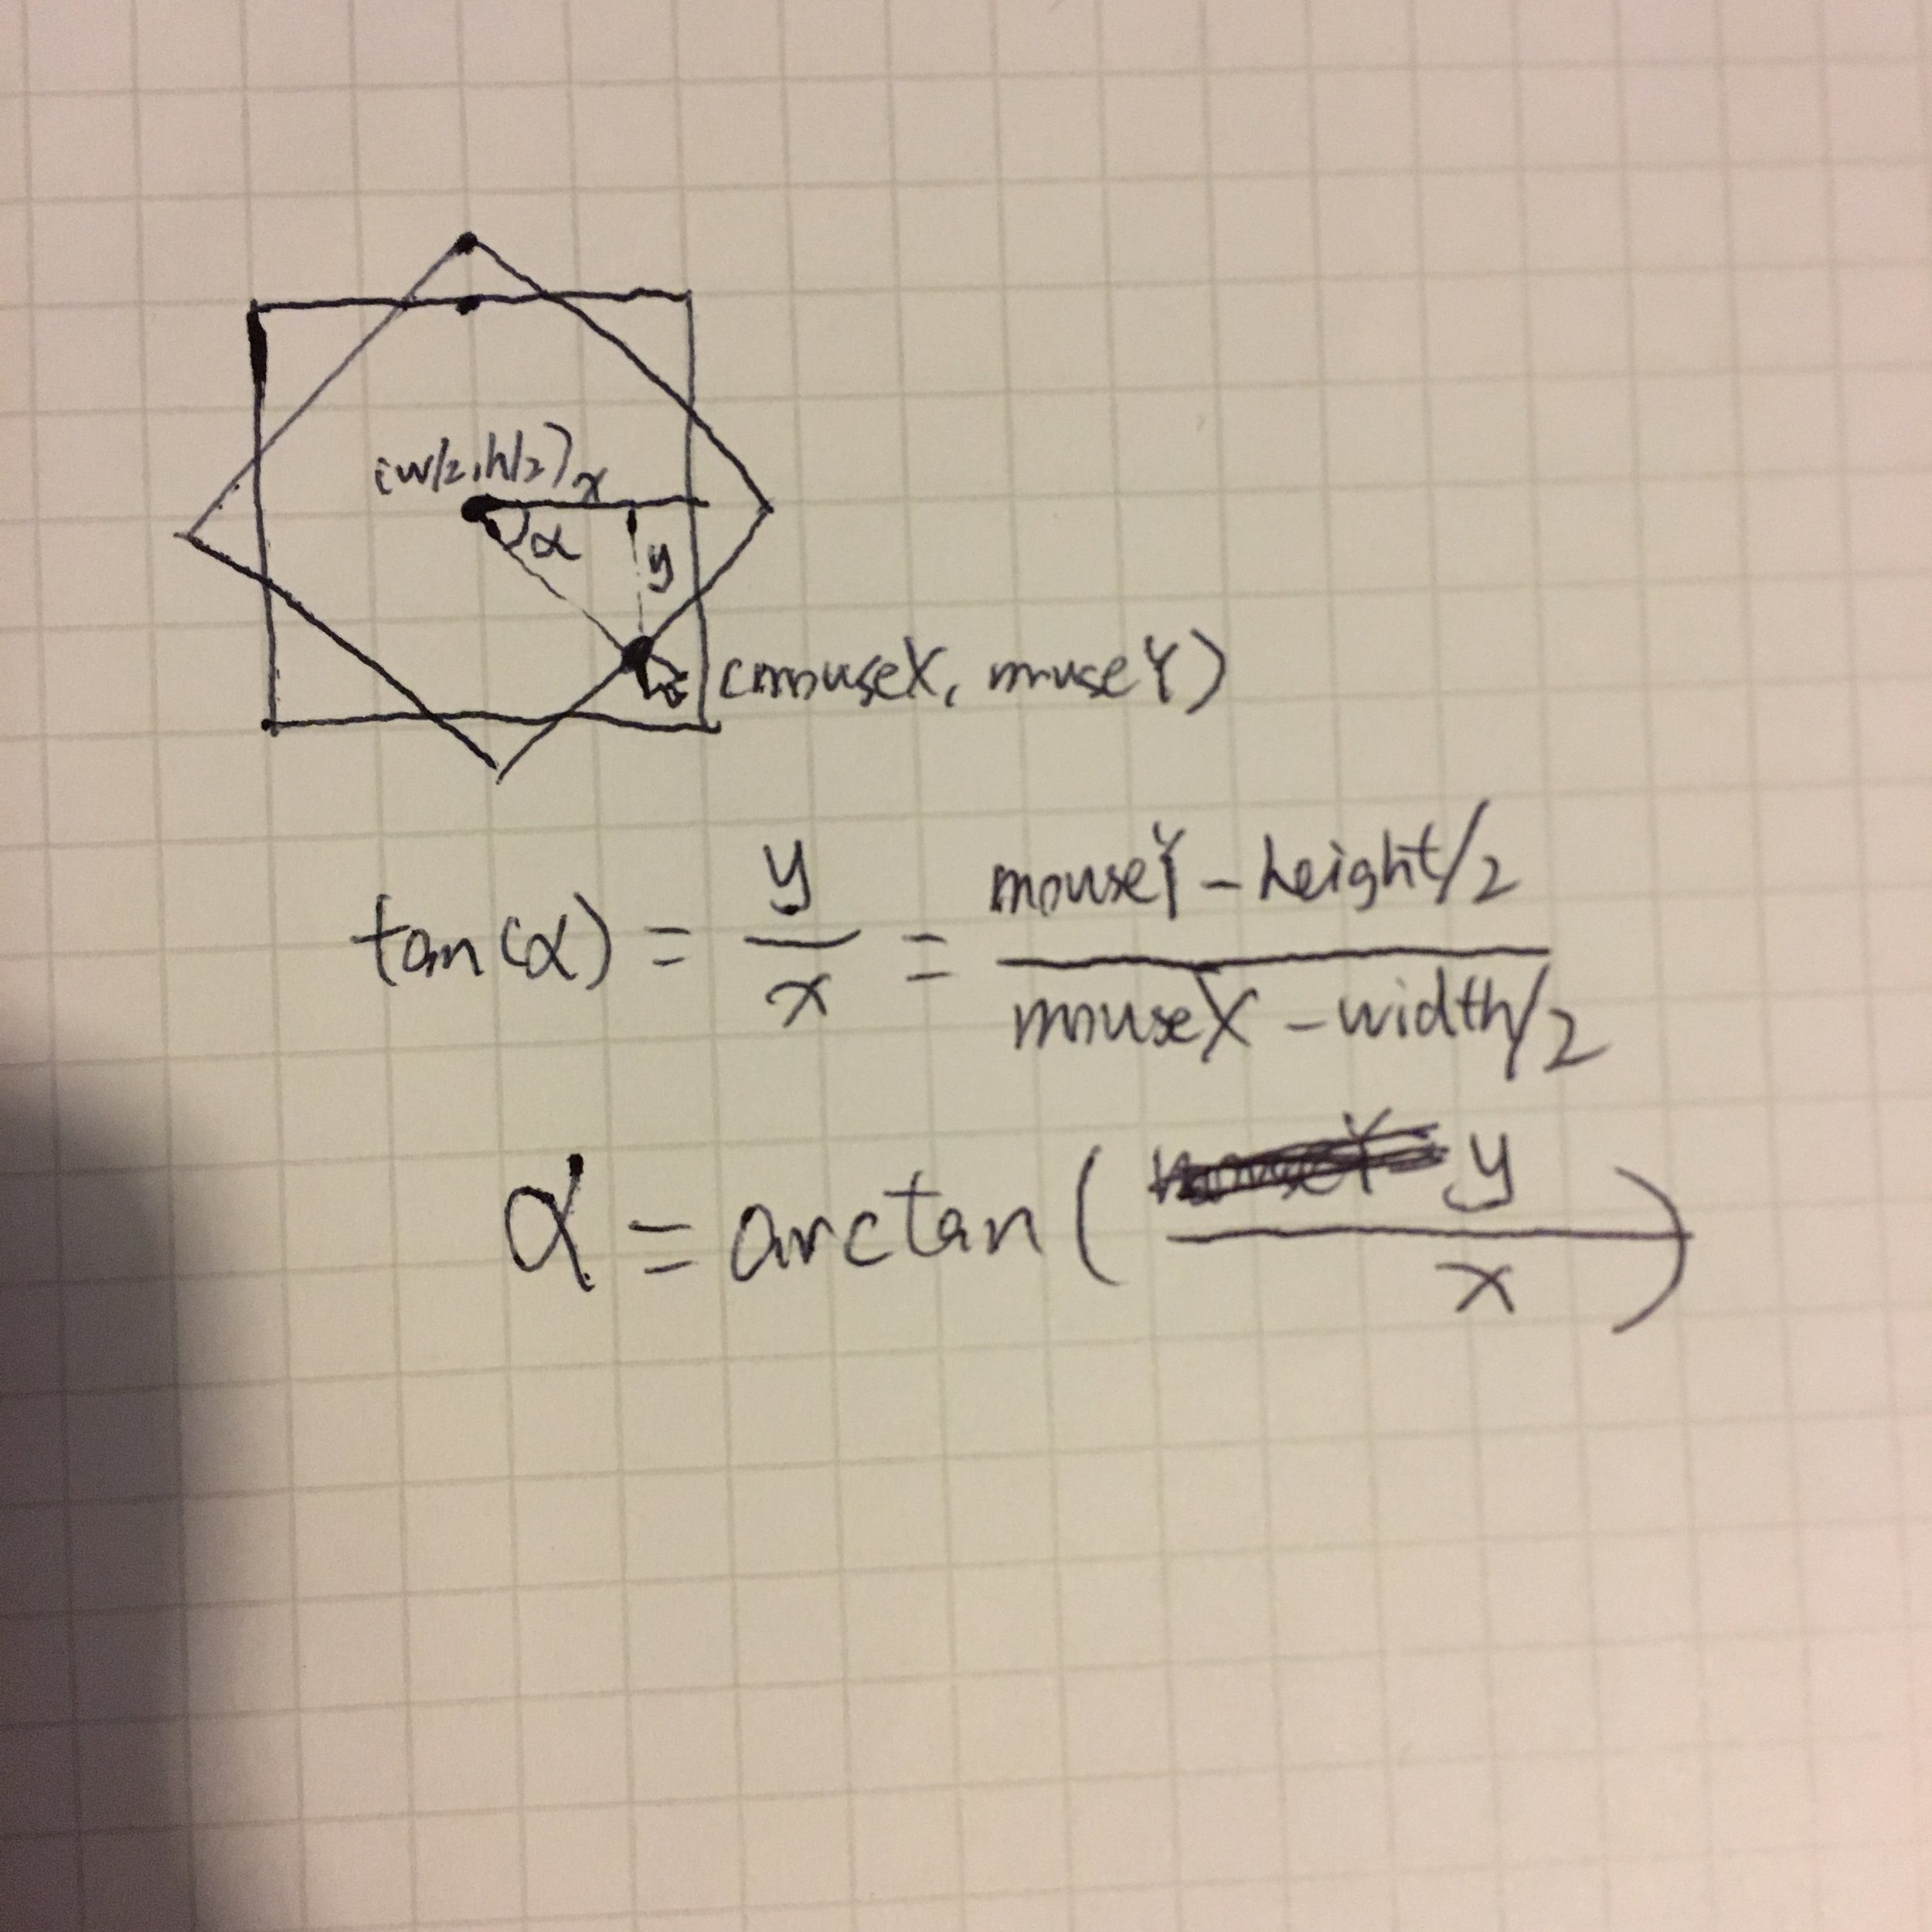
My week 2 assignment I have my background generate a random greyscale color every time i run the sketch. Then drew a square in the middle of the canvas with its size and rotation controlled by mouse position. The size is determined by the distance between mouse position and the center of the canvas, s=dist(width/2,height/2,mouseX,mouseY); The rotation angle is controlled by mouse position relative to the center of the canvas. I drew this diagram to better illustrate how I derive the angle of rotation from mouseX and mouseY, by using arctangent formula, in p5js reference, I found atan().
Then I drew four smaller rectangles on four corner of the canvas and have them rotate and change color over time independent of the mouse.
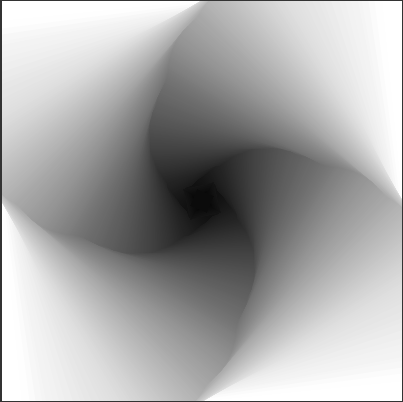
I found it mesmerizing to play with the image. Depending on the speed I move my mouse and the direction I rotate my mouse, each time I create completely different effect like the ones below.
link to my sketch:https://editor.p5js.org/ada10086/sketches/S1y0dvB_X
W1 How computation applies
W1 Sketches
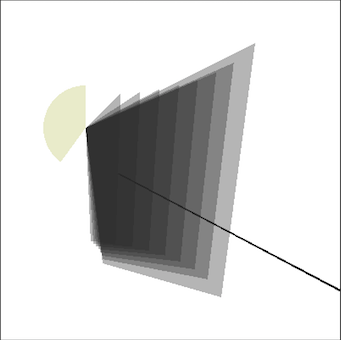
Having some degree of knowledge in programming with Processing, I was able to quickly pick up what I used to know in Processing and apply it in the p5.js web editor. There are a lot of similarities given that both are intended for drawing. In first week’s of progress, I have also learned many differences through both the lecture and assignments. Processing uses the programming language Java and runs locally on the computer, whereas p5.js is in Javascript and runs on the webpage, making it easier to share. Instead of “void setup” and “void draw” in Processing, p5.js uses “function setup” and “function draw”; Processing uses “size” to define size of canvas, while p5 uses “createCanvas”; “pushMatrix” and “popMatrix” are now simply “push” and “pop”. Origin (0,0,0) for WEBGL mode in p5 is in the center of the canvas. “println” is now “print” or “console.log”. My first sketch is a static abstract structure I named “gate”, I randomly jot down some coordinates with beginShape() vertex() endShape() and ended up with an irregular quadrilateral. I then made duplications of the quadrilateral by rotating it in 3D space. So I looked up in the reference, in order to sketch in 3D, I need to set up my canvas as WEBGL in createCanvas(400,400 WEBGL) in function setup. Then I rotated the quadrilaterals around Y axis, and each time I added the rotation, I scaled down the sizes proportionally, so they overlapped and created a sense of depth. One problem I encountered was when I changed to WEBGL mode, my shapes shifted a little, and I found out the origin is no longer on the top left corner, instead it is in the center of the canvas. So in order to shift things back in the middle, I used push(), pop() and translate(). Then I added a line as a ray crossing the quad gate and an arc on the left to balance the abstract image. Having some prior knowledge with statements like for/while, if/else, I was aware that I could use fewer lines of code to produce this graphic with for loop by incrementing/decrementing the rotation degree and the scale of each loop. However, since the week 1 assignment focuses on using simple 2D primitive shapes, I thought I’d recreate this when we talk about for loop.
In my second dynamic sketch, I wanted to create something that’s not just triangles, circles or squares, which I used to play around a lot in Processing, so I thought about polygons. And I found the polygon documentation in the p5.js reference. Unlike a single line function like ellipse() or rect(), a polygon() function does not already exist in the p5.js library. So before calling polygon() with some parameters, I had to first declare my own polygon function with input parameters (center x coordinate, center y coordinate, radius, number of points). After understanding the math behind the polygon parameters, I generated a heptagon and a triangle with the polygon function and used push(), pop(), translate() to move them to the center of the canvas. Then I decided to animate them with rotate() by passing frameCount into the function. As frameCount is always going up, it ensures the shapes are constantly rotating. Then I was just playing around with the parameters of the shapes and multiplied the radius of the polygons with sin and cos values so that the radius increases and decreases rhythmically. I also moved background() into setup so that each time the draw loop updates, the last sketch stays, leaving behind a trace of previous shapes, creating a hypnotic effect.

My takeaway from this assignment is that without a specific goal in mind of what I wanted to create in the first place, it is always fun and rewarding to start with something very simple and gradually adding things on top of it and play around with parameters and move things around. The results can be very interesting and unexpected.


